This manicotti recipe is Italian sausage with three kinds of cheese, stuffed into pasta then covered with sauce and baked to perfection. A comfort food classic that’s great for feeding a large crowd!
I love to make baked pasta when I’m entertaining, some of my favorites include pizza stuffed shells, chicken parmesan pasta, and this hearty, cheesy, baked manicotti.
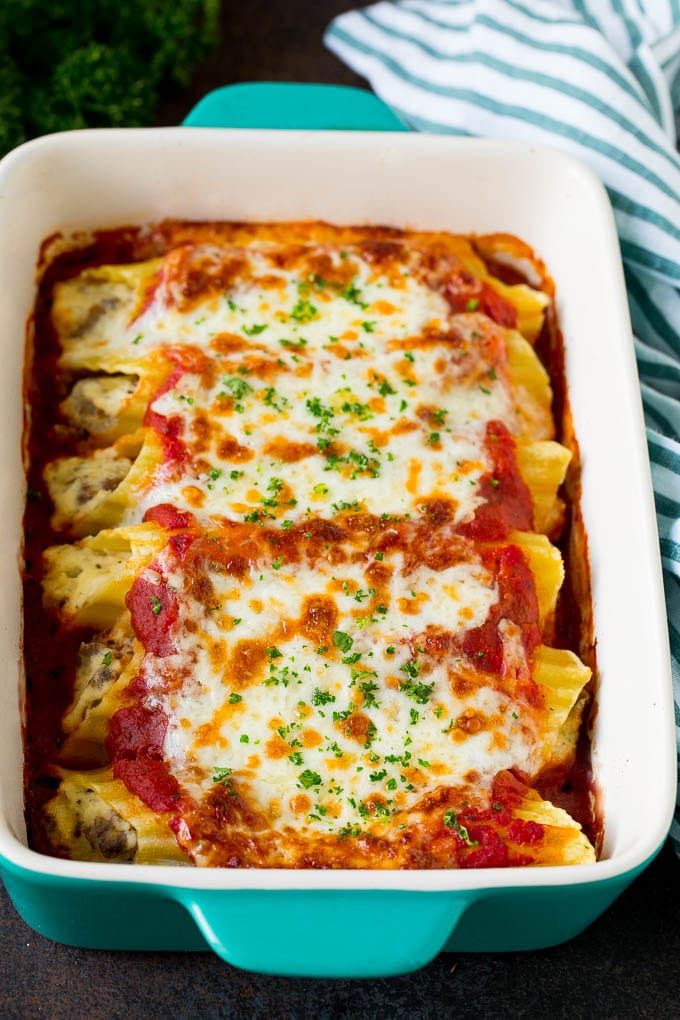
Manicotti is a traditional dish that’s served at most Italian restaurants, but it also happens to be really easy to make at home! My version features zesty sausage, plenty of melted cheese and is always a hit with both kids and adults alike. For more amazing Italian dishes, try my slow cooker bolognese sauce and shrimp linguine!
Table of Contents
Baked Manicotti Ingredients
To make this recipe, you will need olive oil, sausage, onion, garlic, ricotta cheese, mozzarella cheese, parmesan cheese, Italian seasoning, salt, pepper, marinara sauce, manicotti shells and parsley.
How Do You Make Manicotti?
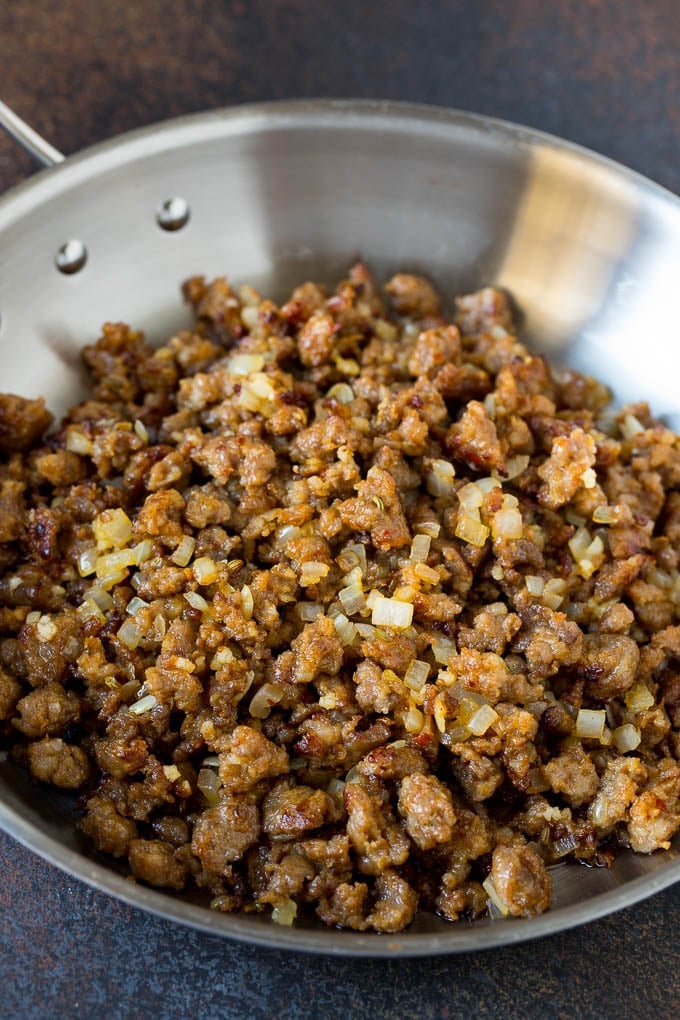
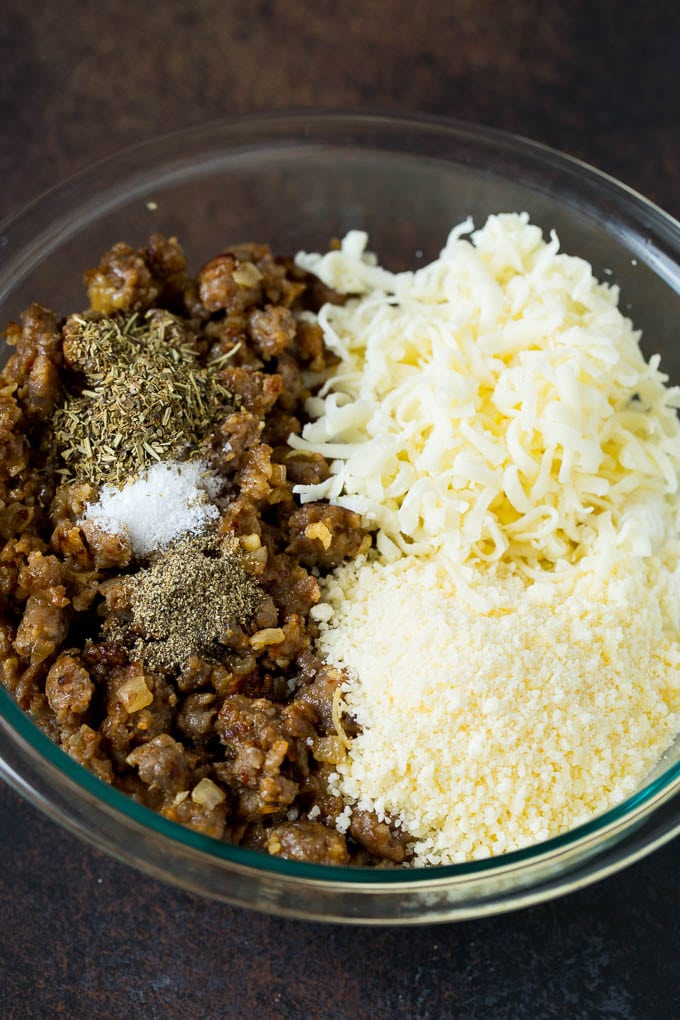
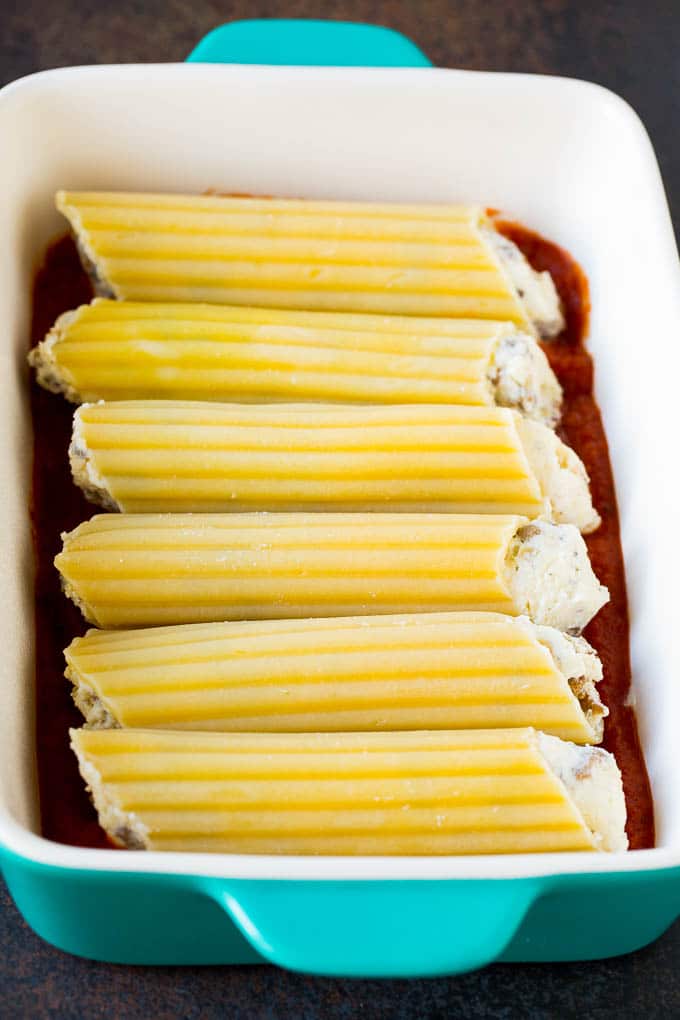
The first step is to brown your Italian sausage along with onion and garlic. In another bowl, mix together ricotta cheese with parmesan, mozzarella and seasonings. Mix the sausage into the cheese mixture, then fill each pasta shell with the cheese filling. Place the pasta in a pan with marinara sauce, then add another layer of cheese over the top. Bake until the sauce is bubbling and the cheese is melted and browned. Sprinkle with parsley, then serve and enjoy.
Tips For The Perfect Pasta
- It’s best to slightly undercook your pasta. Firmer pasta is easier to fill, and it will continue to cook and soften as it bakes in the oven.
- I use a store bought marinara sauce to keep prep time to a minimum. Choose your favorite high quality sauce. I typically use Rao’s or Newman’s Own brands.
- This dish can be assembled up to 8 hours before you plan to bake it. Cover and store in the fridge, then bake as directed. You may need to add an extra 10-15 minutes to the bake time to compensate for starting with a chilled dish.
- Feel free to use hot or mild sausage, whichever you prefer. Turkey sausage also works quite well.
- Leftover manicotti will stay fresh in the fridge for up to 3 days.
- Be sure to break up the meat into small pieces as it cooks, that will it will fit nicely into the pasta tubes.
Quick Tip
I recommend shredding your own cheese for this recipe. The bags of pre-grated cheese at the store are often coated with anti-caking agents and don’t melt smoothly.
Recipe FAQs
There are two methods to fill your manicotti shells. The first is to use a small spoon to fill each piece of pasta. The second is to put the meat and cheese mixture into a piping bag, and snip a large hole in the end. Pipe the filling into each shell. If you don’t have a piping bag, you can also use a gallon sized freezer bag in the same way. I prefer to use the piping bag method because it’s easier with less mess at the end.
This recipe is a great candidate for the freezer. Store the covered dish in the freezer for up to 3 months. You can bake your pasta from frozen, you’ll just need to add about 30 minutes to the cook time.
Both cannelloni and manicotti are stuffed pasta dishes. The difference is simply in the pasta itself. Cannelloni tend to be thinner without ridges.
I recommend serving a salad alongside your pasta. Some of my favorites include panzanella salad, wedge salad, Mediterranean salad and Italian salad. You can also serve bread such as garlic knots.
FOLLOW ME
Flavor Variations
I love this pasta recipe as-is, but you can switch up the ingredients to customize it to your tastes.
- Protein: Instead of sausage, try ground beef, shredded chicken or ground turkey.
- Vegetables: Feel free to add some veggies to the filling such as cooked spinach, finely chopped mushrooms, grated zucchini or roasted red bell peppers.
- Cheese: Swap out the mozzarella and parmesan for other Italian cheese varieties such as fontina, provolone, asiago or pecorino romano.
- Sauce: You can switch out the marinara sauce for bolognese sauce, Alfredo sauce or even basil pesto.
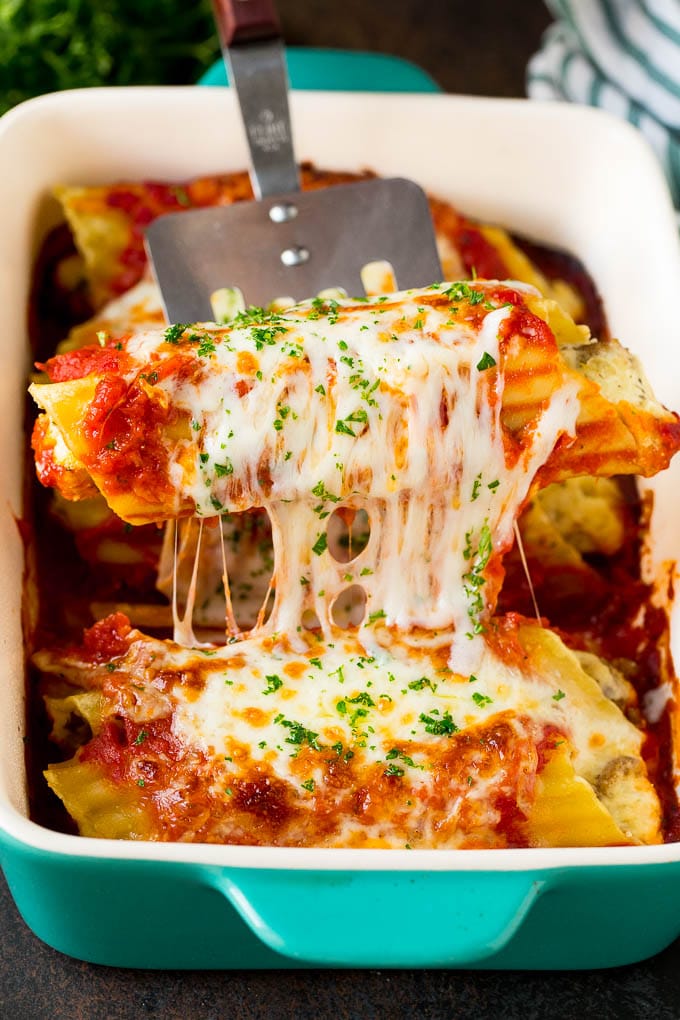
You can never go wrong with creamy, cheesy pasta and this manicotti recipe is on my regular rotation. The flavor combination just can’t be beat, and it’s the perfect meal for those days when you need a little comfort food.
More Delicious Pasta Recipes
Seafood Pasta Recipe
40 mins
Buffalo Chicken Pasta
50 mins
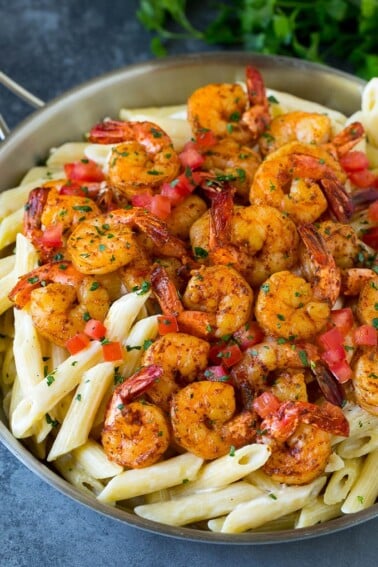
Cajun Shrimp Pasta
35 mins
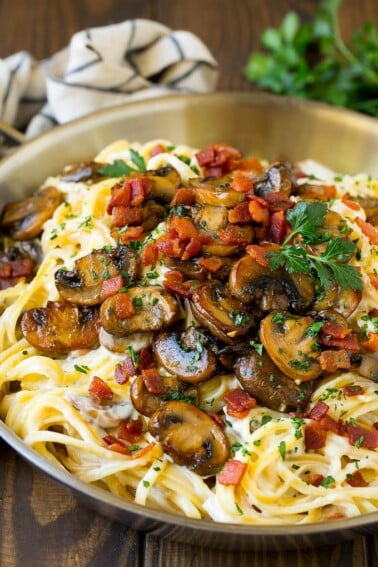
Mushroom Pasta with Bacon
25 mins
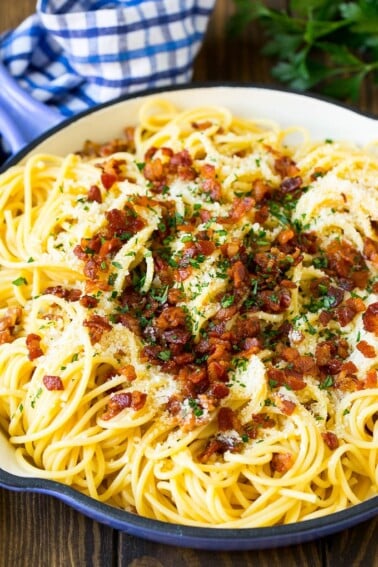
Pasta Carbonara
20 mins
Manicotti Video
Love This Recipe?
Please leave a 5-star 🌟🌟🌟🌟🌟rating in the recipe card below & a review in the comments section further down the page.
Manicotti Recipe
Ingredients
For the filling
- 2 teaspoons olive oil
- 1 pound Italian sausage hot or mild, casings removed
- 1/2 cup onion finely chopped
- 2 teaspoons minced garlic
- 15 ounces ricotta cheese
- 1 egg
- 1 cup mozzarella cheese shredded
- 1/2 cup parmesan cheese finely grated
- 3/4 teaspoon dried Italian seasoning
- salt and pepper to taste
For assembly
- 2 1/2 cups marinara sauce
- 12 manicotti shells
- 1 1/2 cups mozzarella cheese
- 2 tablespoons chopped parsley
- cooking spray
Instructions
- Preheat the oven to 350 degrees F. Coat a 9"x13" baking dish with cooking spray.
For the filling
- Heat the olive oil in a large pan over medium heat. Place the sausage in the pan. Cook for 3-4 minutes, breaking up the meat into small pieces.
- Add the onions to the pan. Cook for an additional 4-5 minutes or until onions are softened and sausage is browned and cooked through.
- Add the garlic and cook for an additional 30 seconds. Remove the pan from the heat.
- Place the ricotta cheese, egg, mozzarella, parmesan, Italian seasoning and salt and pepper in a large bowl. Stir to combine.
- Add the meat mixture to the ricotta mixture. Stir until well mixed.
For assembly
- Cook the manicotti in salted boiling water for 1-2 minutes less than the package directions state. Drain and cool slightly.
- Spread 1 cup of the marinara sauce over the bottom of the pan.
- Use a spoon or piping bag to fill each manicotti with the meat and cheese mixture.
- Arrange the manicotti in a single layer in the pan. Pour the rest of the sauce over the top.
- Cover and bake for 20 minutes. Uncover, sprinkle the mozzarella cheese over the top, then bake for an additional 10-15 minutes or until cheese is melted and browned.
- Sprinkle with parsley, then serve.
Notes
- It’s best to slightly undercook your pasta. Firmer pasta is easier to fill, and it will continue to cook and soften as it bakes in the oven.
- I use a store bought marinara sauce to keep prep time to a minimum. Choose your favorite high quality sauce. I typically use Rao’s or Newman’s Own brands.
- This dish can be assembled up to 8 hours before you plan to bake it. Cover and store in the fridge, then bake as directed. You may need to add an extra 10-15 minutes to the bake time to compensate for starting with a chilled dish.


Seems tasty
I will definitely try this recipe at home.
Thanks for sharing.
Made it tonight and the whole family loved it! It was perfect for a family of 5 adults and one toddler. I added some spinach to the mixture and added provolone cheese in addition to the cheeses the recipe calls for. Broiled it towards the end so the cheese on top got a nice golden color. I served it with Caesar salad and garlic knots. Will definitely add this to the meal rotation. Thanks!
Excellent dish! I substituted cottage cheese (preference) for ricotta. I used brown rice manicotti that I followed the 4 min package cook time for. I did add artichoke to the filling for fiber. I gave both the browned meat & cheese/artichoke mixture a quick blitz in my food processor before combining, making piping easy and the texture was pleasing. Not a weeknight meal for me, but will definitely make again!
I have made this twice with hot Italian sausage. It was excellent. The only thing I did different was I didn’t use the egg (I didn’t have any) and I put chopped fresh garlic in the cheese mixture instead of the sausage. I liked the crunch that it gave. 🙂
My family loves this cheesy, tasty manicotti! Your recipe breaks down the steps so it’s easy to make. Definitely on my permanent meal rotation now!
This homemade manicotti looks incredible! They are much easier to make than I thought and they make a perfect meal on a busy weeknight.
This was wonderful. It made for a perfect Sunday family dinner, everyone loved it!
Love this recipe! The ultimate comfort food for sure and the Italian sausage adds so much flavor!
I really need to stop looking at food picture when I’m hungry. I want manicotti right now! lol.
First, I want to say thank you for all the great recipes on your website! This is my go to place when I want to try new recipes. I did this recipe for the first time last night. I was a bit worried because I never did manicotti and wasn’t sure it would turn out right. But your simple and clear directions help me find a new go to recipe for my family and friends. It was a Big Hit! Follow everything exact but didn’t have an onion on hand so I had to use onion powder. But other than that it was fabulous! Thank you
Making this for our Easter dinner. Have it all made except for putting the moz. cheese on it. Wrapped in tin foil and put in Ref. overnight. Will put rest of cheese on and bake on Easter day. Hope this works!
Serving with Texas garlic toast and a strawberry spinach salad. Dessert is Strawberry shortcake with ice cream.
ABSOLUTELY FABULOUS RECIPE! We had our weekly guests for dinner, lots of ‘Kick-Ass’, ‘Fantastic’,, ‘Delicious ‘, etc ..comments! This is a keeper!!
Loved this recipe! Making it a second time.
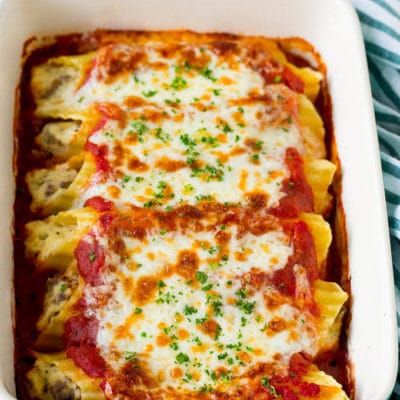
Question – Recipe states 12 shells for a 13×9 pan but the picture only shows 6? Are the shells double layered?
It’s a smaller pan in the photo for artistic purposes, the recipe was tested with 12 shells!
I’ve always wanted to make manicotti and finally decided to give it a try tonight for my mother’s birthday. Your recipe was very easy to follow and make. I was so pleased with how it looked and, more importantly, tasted. I loved it, as did everyone else. Definitely I will make it again and have no need to try out any other recipes. Yours is it
One thing I love about all your recipes is that they are so easy to follow. No steps forgotten, no ingredients omitted. I made this according to directions, but at first I thought there would not be enough filling. I decided to use a 1lb bag of fresh spinach leaves and ripped them up to include in my filling. The Manicotti turned out wonderfully and I even had left over filling for next time. I also found that there is no need to pre-cook the pasta. I just filled mine dry and they cooked perfectly in the oven although I also tented the food to retain moisture and cooked it a bit longer on lower heat. I’d been intimidated thinking that this dish was above my skill level but it turned out perfectly and was enjoyed by all. Highly recommended!!
Love this recipe and thanks for sharing. Made it as recipe follows and was Mig-ty-fine!! Found just fingering the mixture into the shells the easiest. My girlfriend and I have made this multiple times and each time a hit!
Tim, I am interested in making this using uncooked shells as you did. You said you “tented” your baking dish. Did you just use foil tented up over the dish, and did you add extra moisture in the dish? What temp do you suggest, and for how long? I really appreciate any help!
Recipe came out perfect! I made it for company and they were impressed!
YUM. I’d never made manicotti before and was a little intimidated, but this was straightforward and so delicious. I made homemade marinara to go with it, too. Such a keeper.
Worked great
This was delicious. My first time making manicotti and everyone was blown away. I used lean ground beef and Rao’s homemade marinara sauce. Perfect. I even loved it more than my home made lasagna. Next time I’ll add mushroom and spinach to add some veggies.