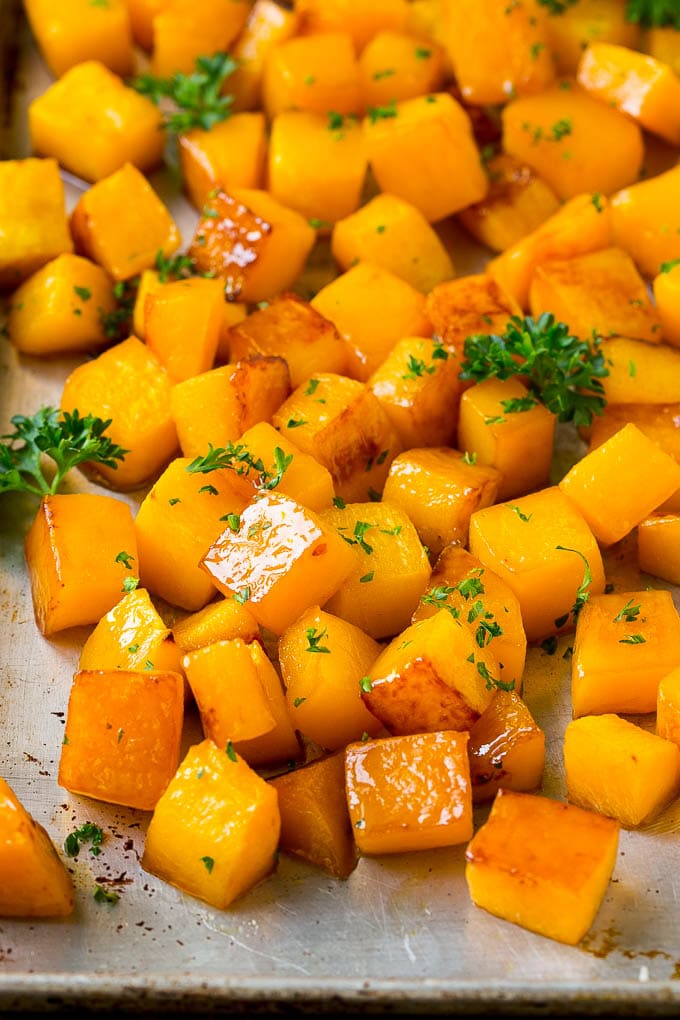
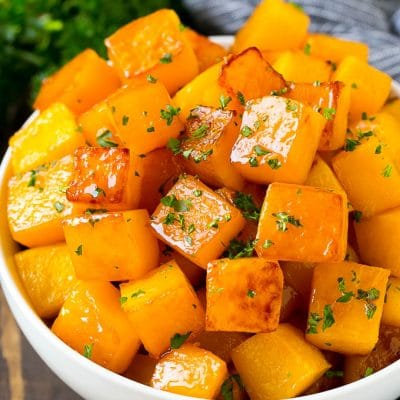
This roasted butternut squash is coated in brown sugar, maple syrup and seasonings, then roasted until tender and caramelized. The absolute best way to enjoy butternut squash!
I always serve a vegetable side dish with dinner, some of my family’s favorites include glazed carrots, parmesan zucchini, and this lightly sweetened roasted butternut squash.
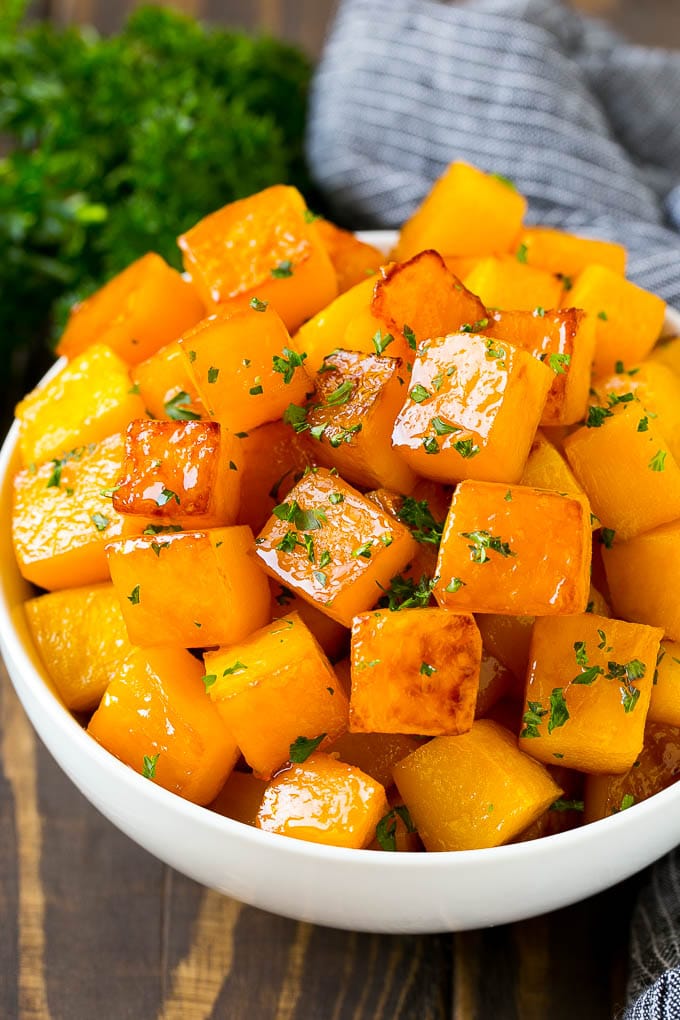
When the colder weather months roll around and there are less fresh green veggies at the market, I turn to winter squash. Winter squash is inexpensive, readily available, and comes in all kinds of different shapes, sizes and flavors. My favorite winter squash is butternut, it’s got a ton of flavor and stands up well to most preparations. This roasted butternut squash gets a touch of sweetness from brown sugar and maple syrup, and is one of my favorite side dish recipes.
Try this squash recipe with some of my favorite main dishes like Cajun turkey, apple pork chops and slow cooker whole chicken.
Table of Contents
Roasted Butternut Squash Ingredients
To make delicious roasted butternut squash you will want butternut squash, olive oil, brown sugar, maple syrup, parsley, salt and black pepper.
How Do You Make Roasted Butternut Squash?
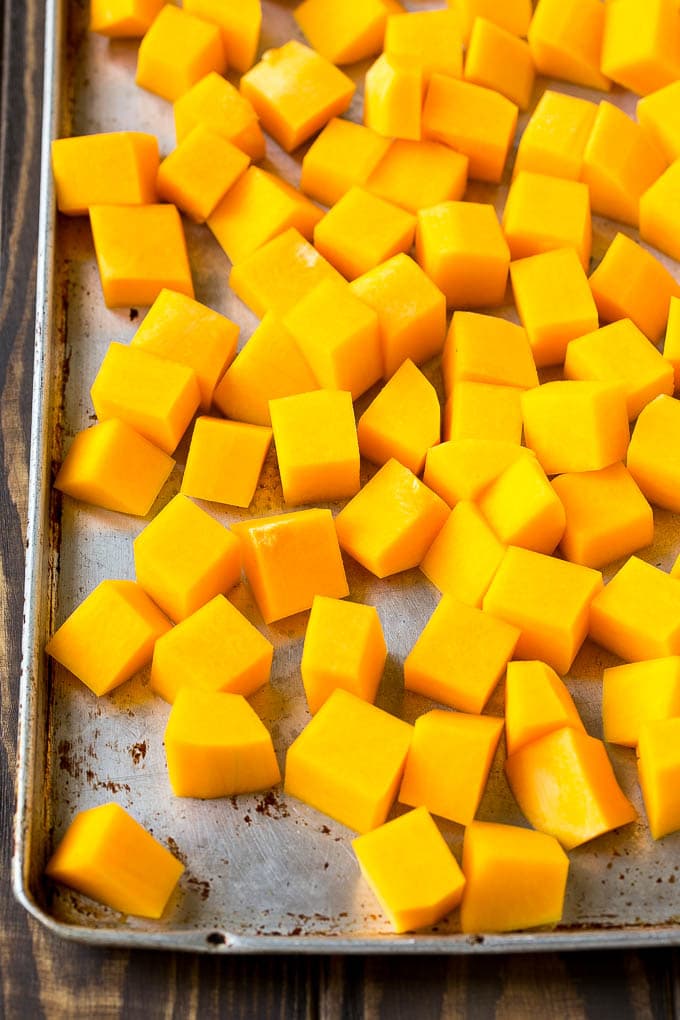
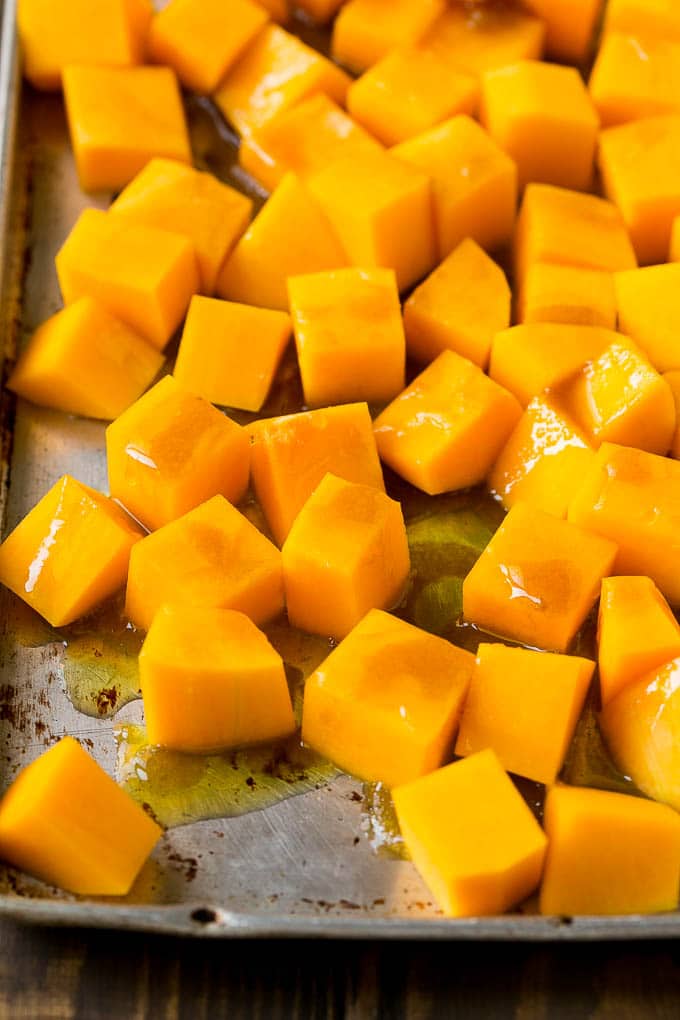
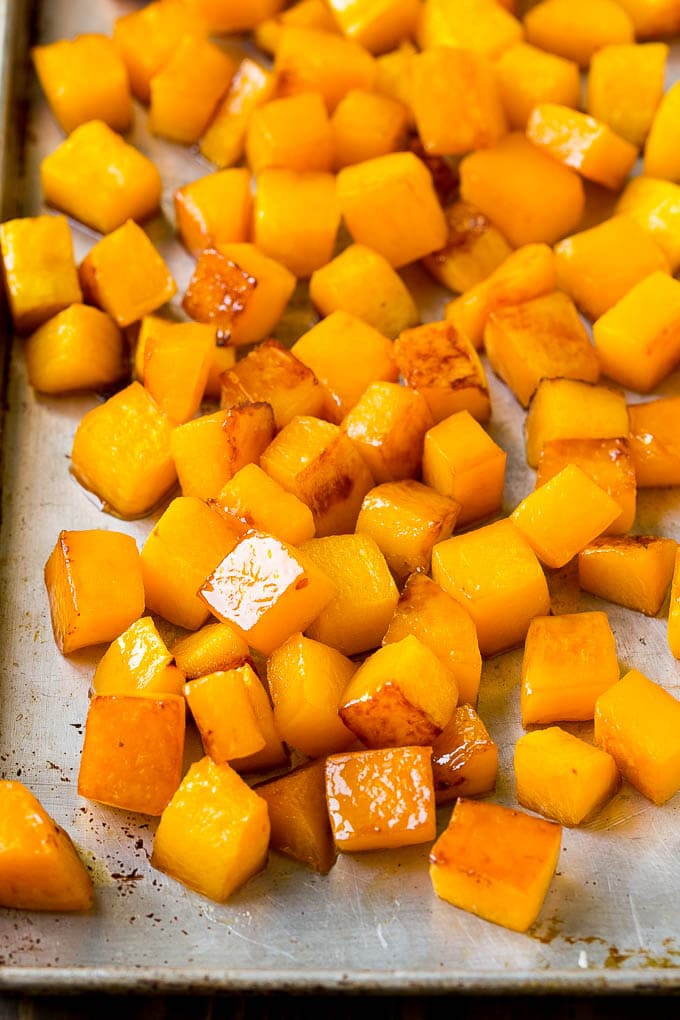
To make this roasted butternut squash recipe, spread your cubes of butternut squash out in a single layer on a greased sheet pan or baking sheet. Whisk together a mixture of olive oil, brown sugar, maple syrup and seasonings and drizzle it over the squash. Place your squash in the oven and roast until it’s caramelized and tender. The finishing touch is a sprinkle of fresh parsley.
Tips For Roasted Butternut Squash
- I cut my butternut squash into 3/4 inch pieces. It may seem a little large, but the squash shrinks down as it cooks.
- This recipe also works with pre-cut butternut squash from the produce section if you want to save a little prep time.
- Line your sheet pan with foil before you coat it with cooking spray for easier clean up.
- I like to garnish my squash with a little chopped parsley, but you could skip that step if you prefer.
Quick Tip
You’ll want to stir your squash occasionally to make sure all of the sides get caramelized and browned.
Recipe FAQs
The first step is to cut a thin slice off both the bottom and top of your squash so that it won’t roll around when you’re working with it. The next step is to use a vegetable peeler to peel off the skin. Use a sharp, high quality vegetable peeler to make short work of this task. I use a Y-shaped peeler. After your squash is peeled, you’ll want to cut it lengthwise, then use a spoon to scoop out the seeds. From there, you can cut your squash into cubes.
You don’t need to peel a butternut squash before roasting it. However, I prefer the squash peeled.
I use a good Y-shaped peeler. It is easier to use a peeler than a knife. Make sure to cut a thin slice off the bottom and top of the squash before you peel it. Cutting a slice off gives the squash a flat surface to make it easier to hold on a cutting board.
Follow Me
Flavor Variations
I love this sweeter version of roasted squash, but there are so many different ways to switch up the flavors in this recipe.
- Bacon: Add 1/2 cup cooked crumbled bacon before serving.
- Garlic and Herb: Omit the brown sugar and maple syrup. Instead add 1 teaspoon of minced garlic and 1 teaspoon of Italian seasoning, rosemary or thyme to the olive oil.
- Red Onion: Add 1/2 cup sliced red onion to the pan before the squash goes into the oven.
- Cinnamon: Add 1/2 teaspoon cinnamon to the olive oil mixture.
- Squash: You could make this recipe with cubes of acorn squash or spaghetti squash.
I love roasted butternut squash as a great side dish. It can also be used in a number of other dishes such as salads or in pasta. The possibilities are endless!
More Great Side Dishes
Love This Recipe?
Please leave a 5-star 🌟🌟🌟🌟🌟 rating in the recipe card below & a review in the comments section further down the page.
Roasted Butternut Squash with Brown Sugar
Ingredients
- 2 pounds butternut squash peeled, seeded and cut into 3/4 inch cubes
- 2 1/2 tablespoons olive oil
- 2 tablespoons brown sugar
- 2 tablespoon maple syrup
- salt and pepper to taste
- cooking spray
- 1 tablespoon chopped parsley optional
Instructions
- Preheat the oven to 400 degrees F. Coat a sheet pan with cooking spray.
- Arrange the squash cubes in a single layer on the pan.
- In a small bowl, whisk together the olive oil, brown sugar, maple syrup, salt and pepper.
- Drizzle the olive oil mixture over the squash, then toss to coat evenly.
- Bake for 25-30 minutes, stirring every 10 minutes, until squash is tender and browned.
- Sprinkle with parsley if desired, then serve.
Notes
- I cut my squash into 3/4 inch pieces – it may seem a little large, but the squash shrinks down as it cooks.
- This recipe also works with pre-cut butternut squash from the produce section if you want to save a little prep time.
- You’ll want to stir your squash occasionally to make sure all of the sides get caramelized and browned.
- Line your sheet pan with foil before you coat it with cooking spray for easier clean up.



Made this recipe this evening. A very easy recipe to prepare. Delicious and tasty enough to add to my Thanksgiving menu.
Very easy to make. Excellent flavor using the Italian Seasoning and garlic recommendation. However, the squash was quite soft and difficult to brown. Would have liked a little more crispy texture. Nonetheless, I’d make it again as it is tasty. Any suggestions to get it crispier?
My guess is that you may have had too much squash on the sheet pan so it steamed rather than roasted because there may not have been enough room for the hot air to circulate. How big were your pieces of squash?
I was very impressed with this recipe and the flavor. Received so many compliments, will make this more often. Thank you for sharing.
I wonder if I could do this in a skillet on a stove burner. I often do sweet potatoes that way.
My only concern is that it could burn over direct heat because of the sugar in the recipe.