This pink cake is layers of fluffy pink velvet cake with a Swiss meringue buttercream and plenty of festive sprinkles. A beautiful dessert offering that’s perfect for any occasion!
When I’m looking for impressive dessert recipes, I turn to some of my favorites including black forest cupcakes, strawberry lemon cake, Nutella cake, heart cake, berry chantilly cake or this festive pink velvet cake.
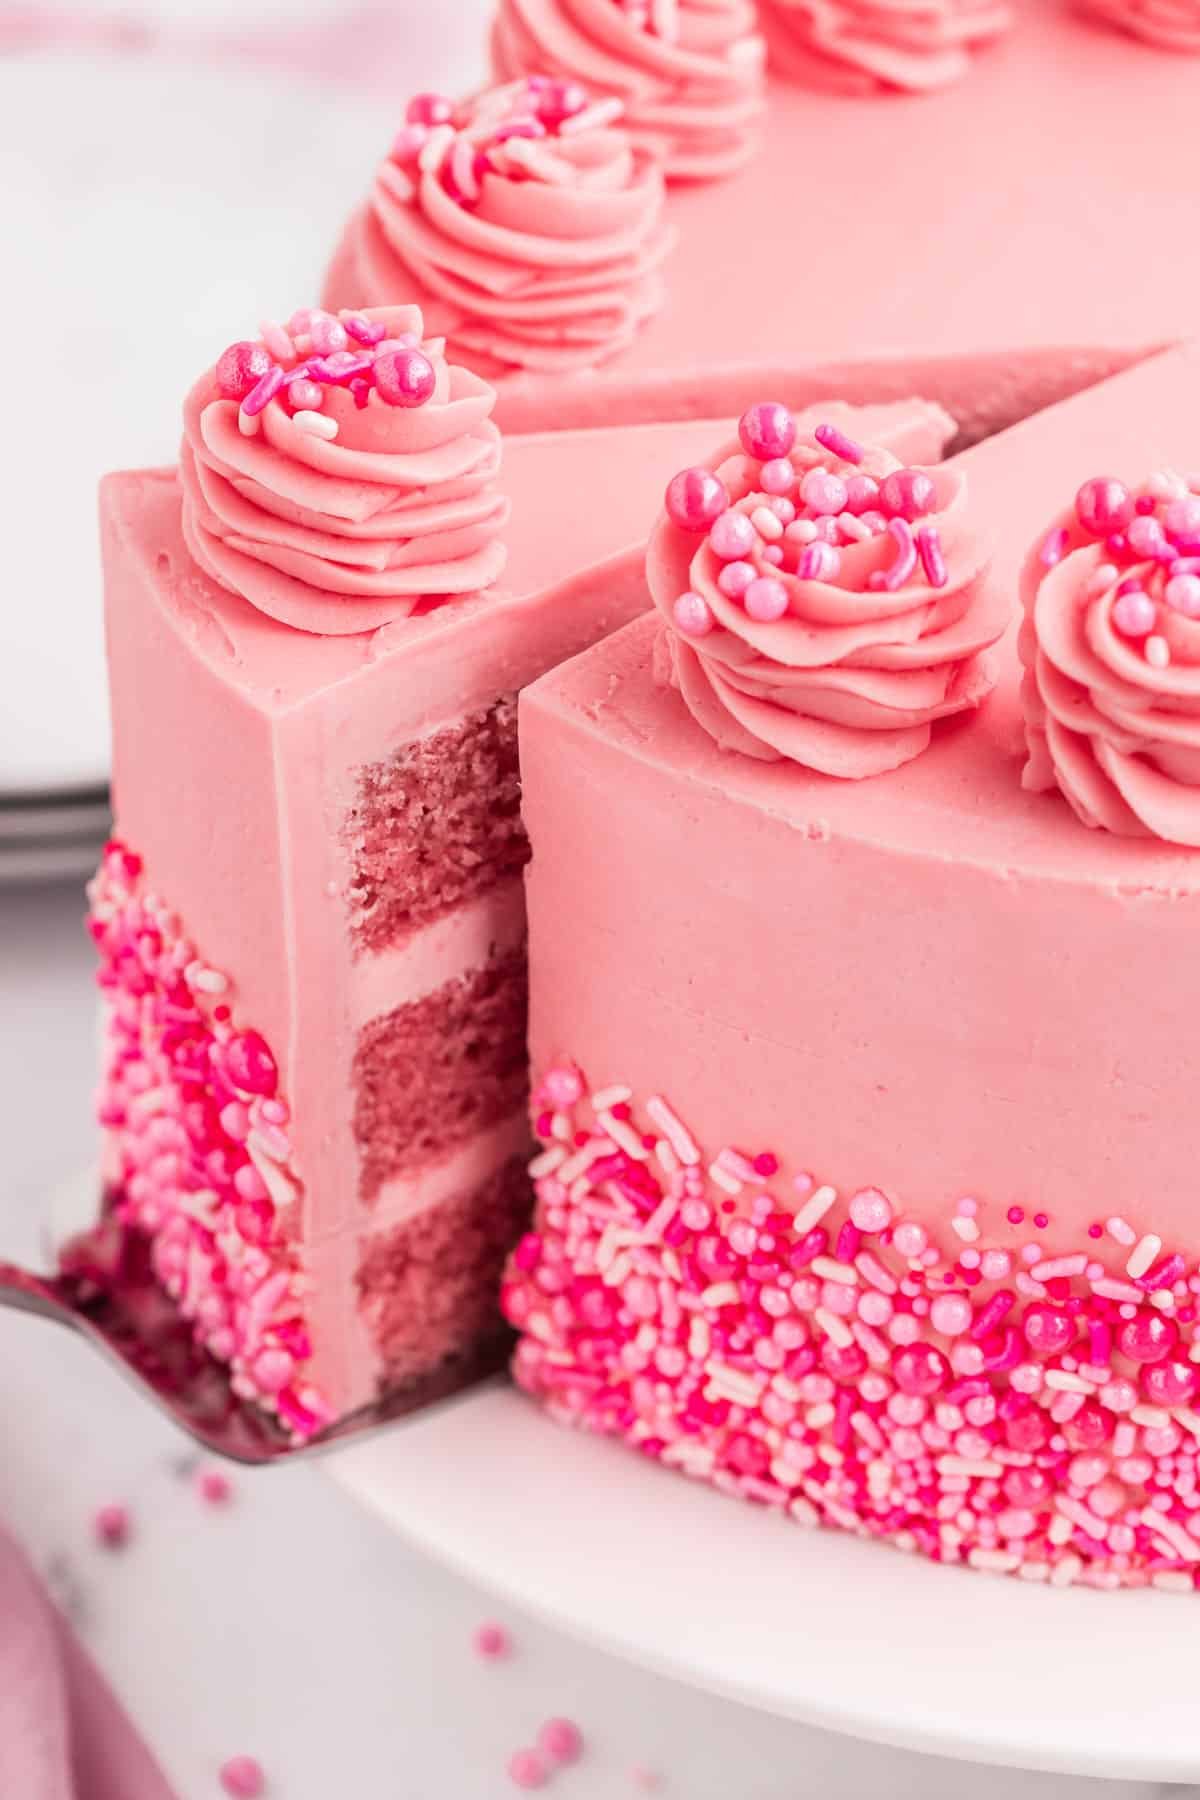
Sometimes you need a colorful treat to brighten up a gloomy day, and that’s where this pink cake comes in! It’s fun to make, full of flavor, and perfect for Valentine’s Day, birthday parties and baby showers.
Table of Contents
Pink Cake Ingredients
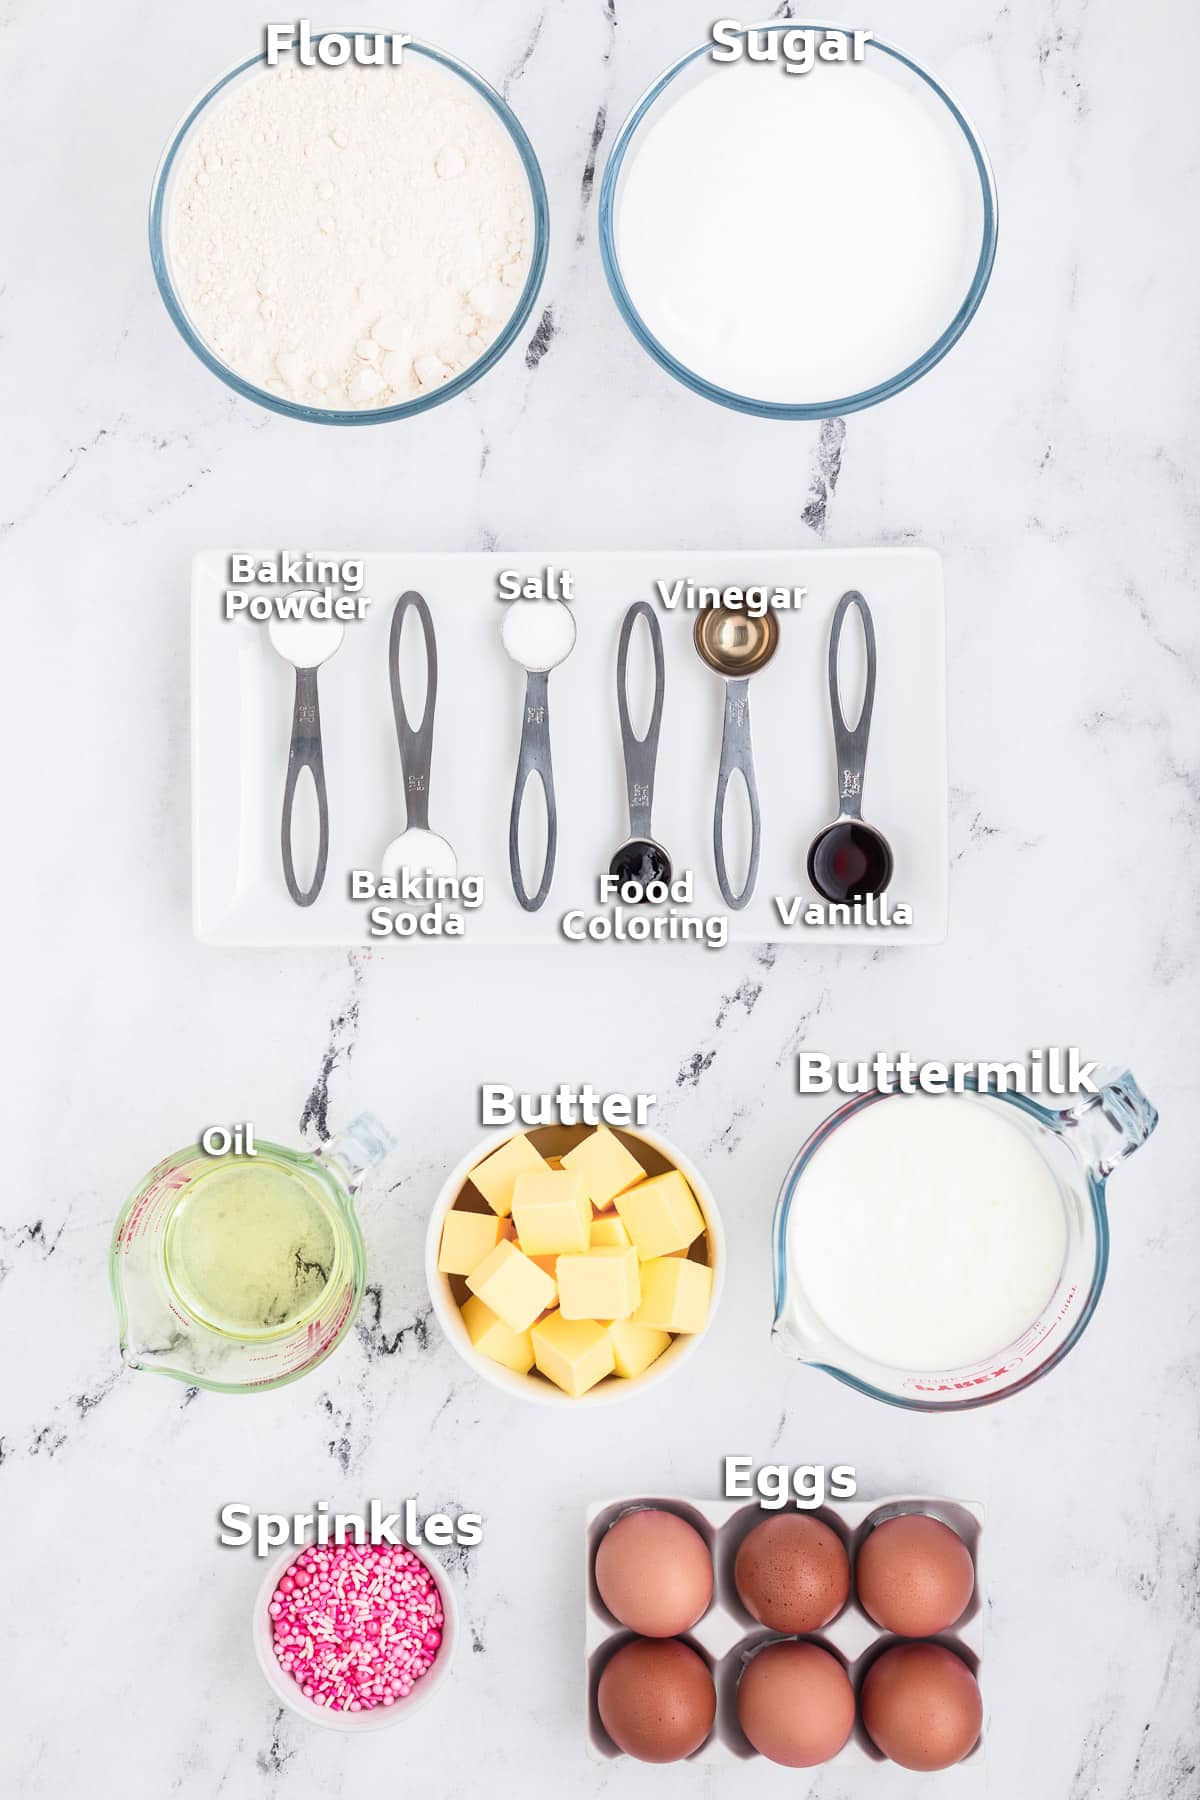
To make this pink cake, you will need all purpose flour, baking powder, baking soda, salt, granulated sugar, buttermilk, butter, vegetable oil, whole eggs, vanilla extract, white vinegar, pink food coloring, egg whites and pink sprinkles.
How Do You Make A Pink Cake?
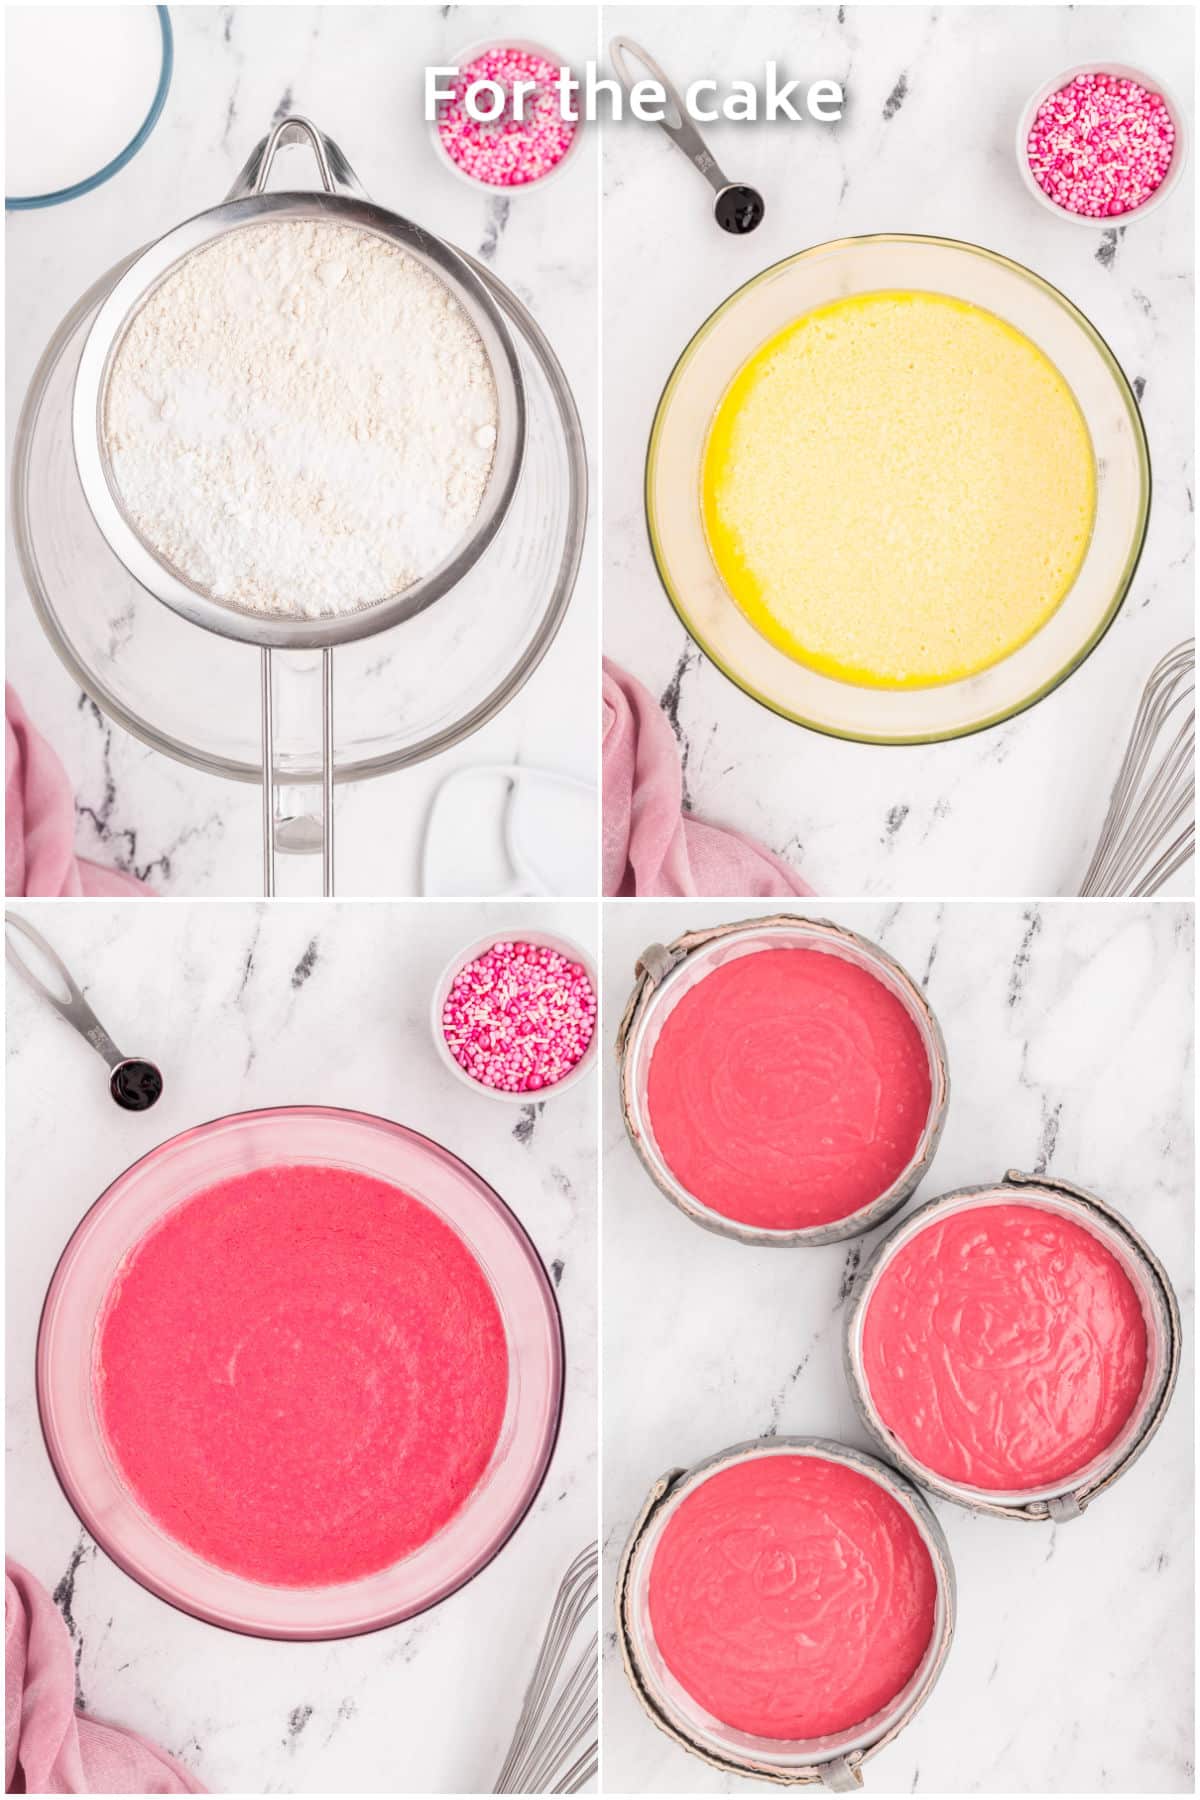
To make the cake layers, preheat the oven, coat 3 cake pans in cooking spray, and line the pans with parchment paper. Soak your cake baking strips in water for later use. Sift the dry ingredients of flour, baking powder, baking soda and salt into the bowl of a stand mixer, then stir in the sugar. In a separate bowl, whisk together the wet ingredients. Pour the wet ingredients into the dry ingredients, and mix just until you have a batter. Divide the cake batter evenly between the pans, then add the baking strips and bake the cakes. Let them cool completely on a wire rack.
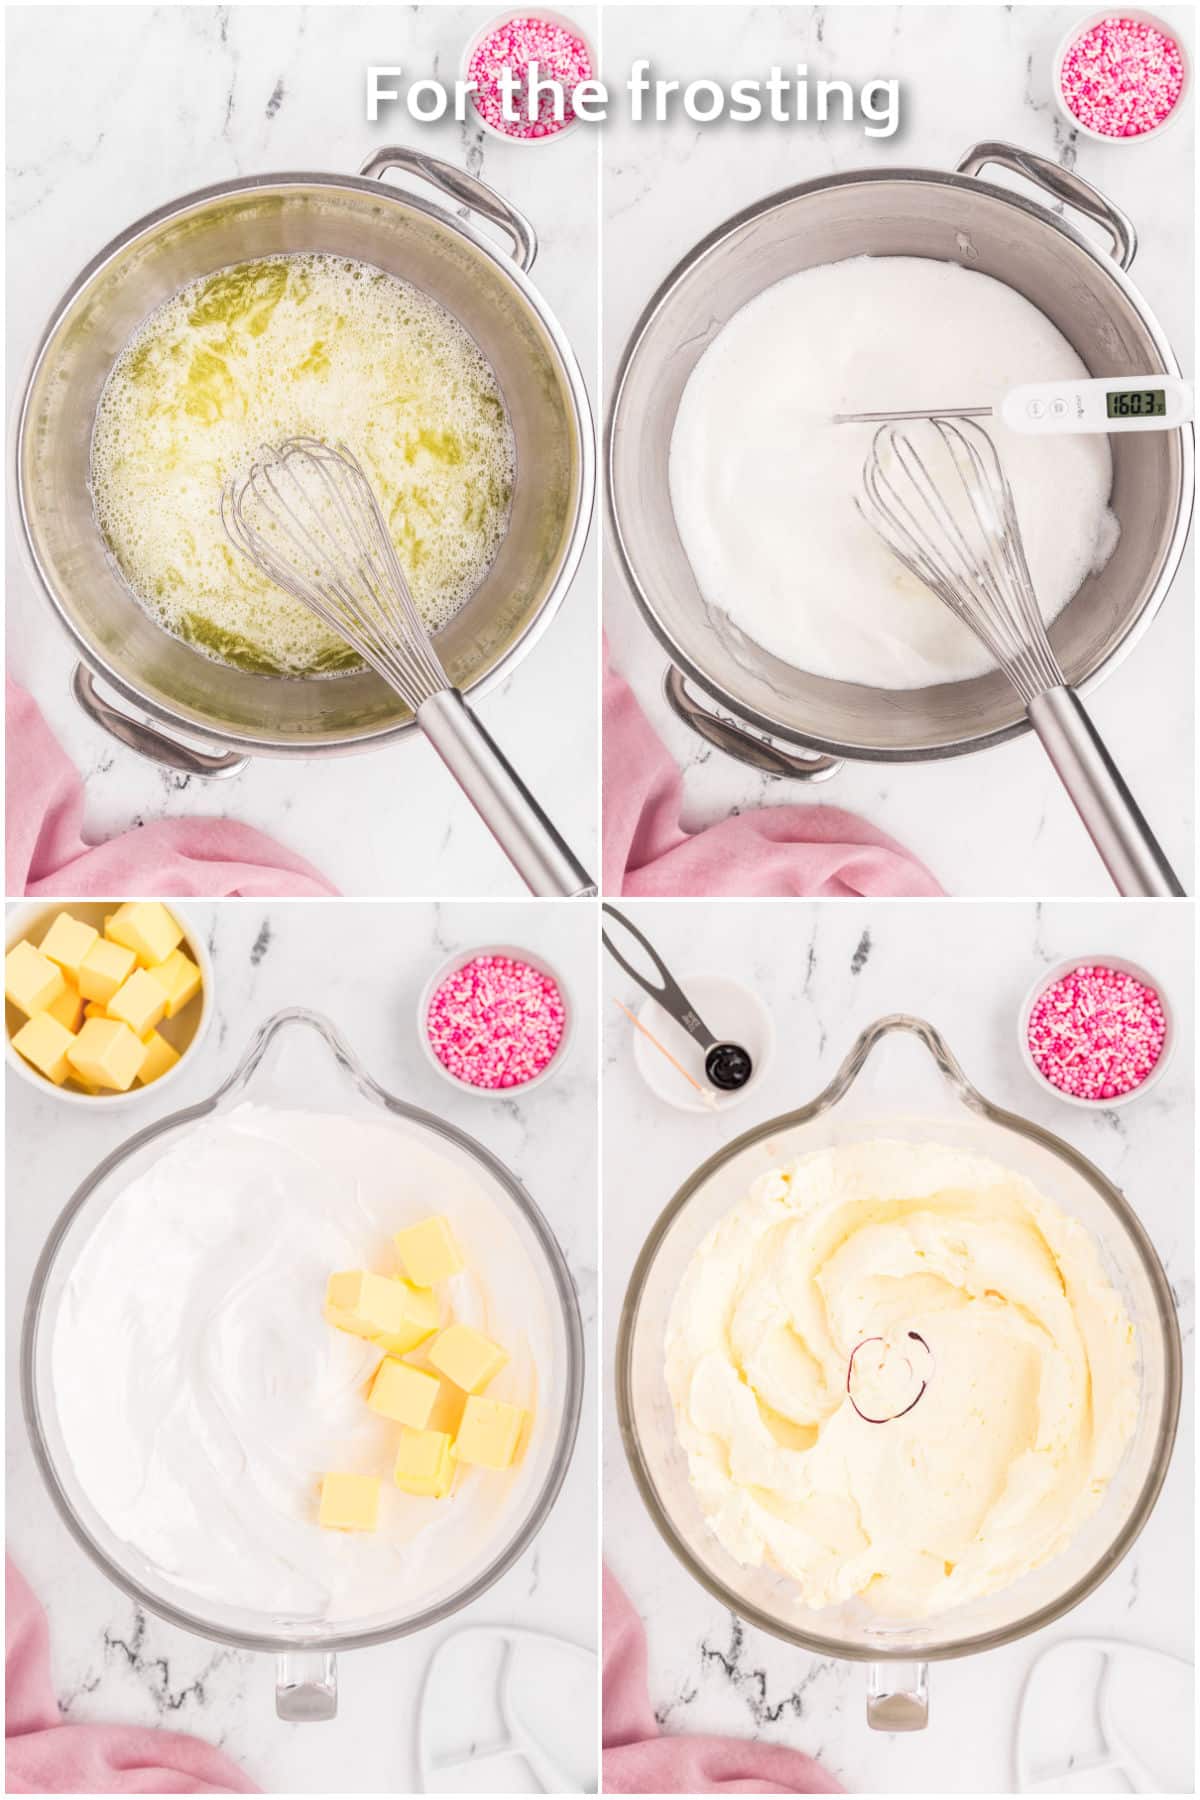
For the Swiss meringue frosting, bring a pan of water to a simmer, and put a large bowl of egg whites and sugar on top of the pan. Whisk the egg whites and sugar together until a thermometer registers at least 160 degrees F. This makes the egg whites safe to eat. Transfer the egg whites to a mixer, and beat with the mixer until a meringue like mixture forms. Add the butter, a little at a time, until a smooth buttercream forms. Stir in your food coloring and your pink frosting is complete.
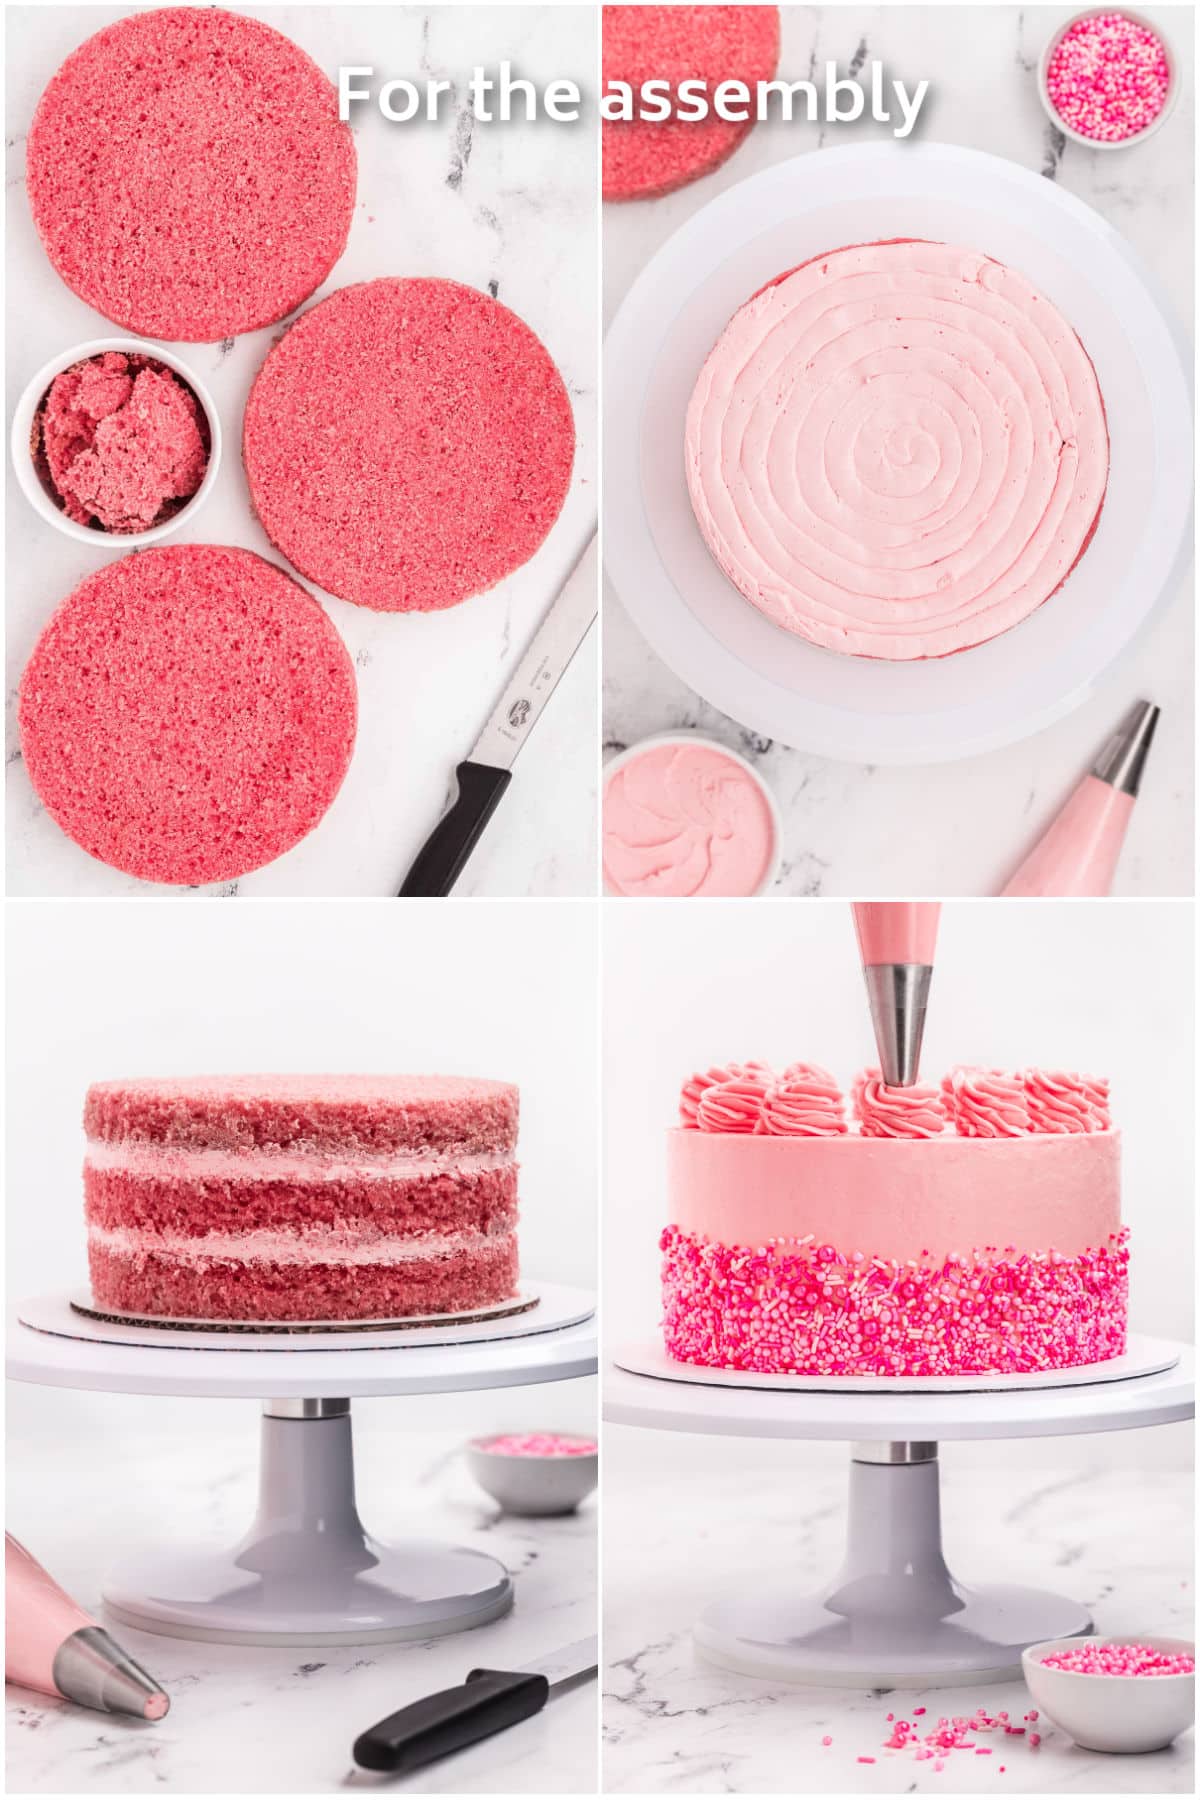
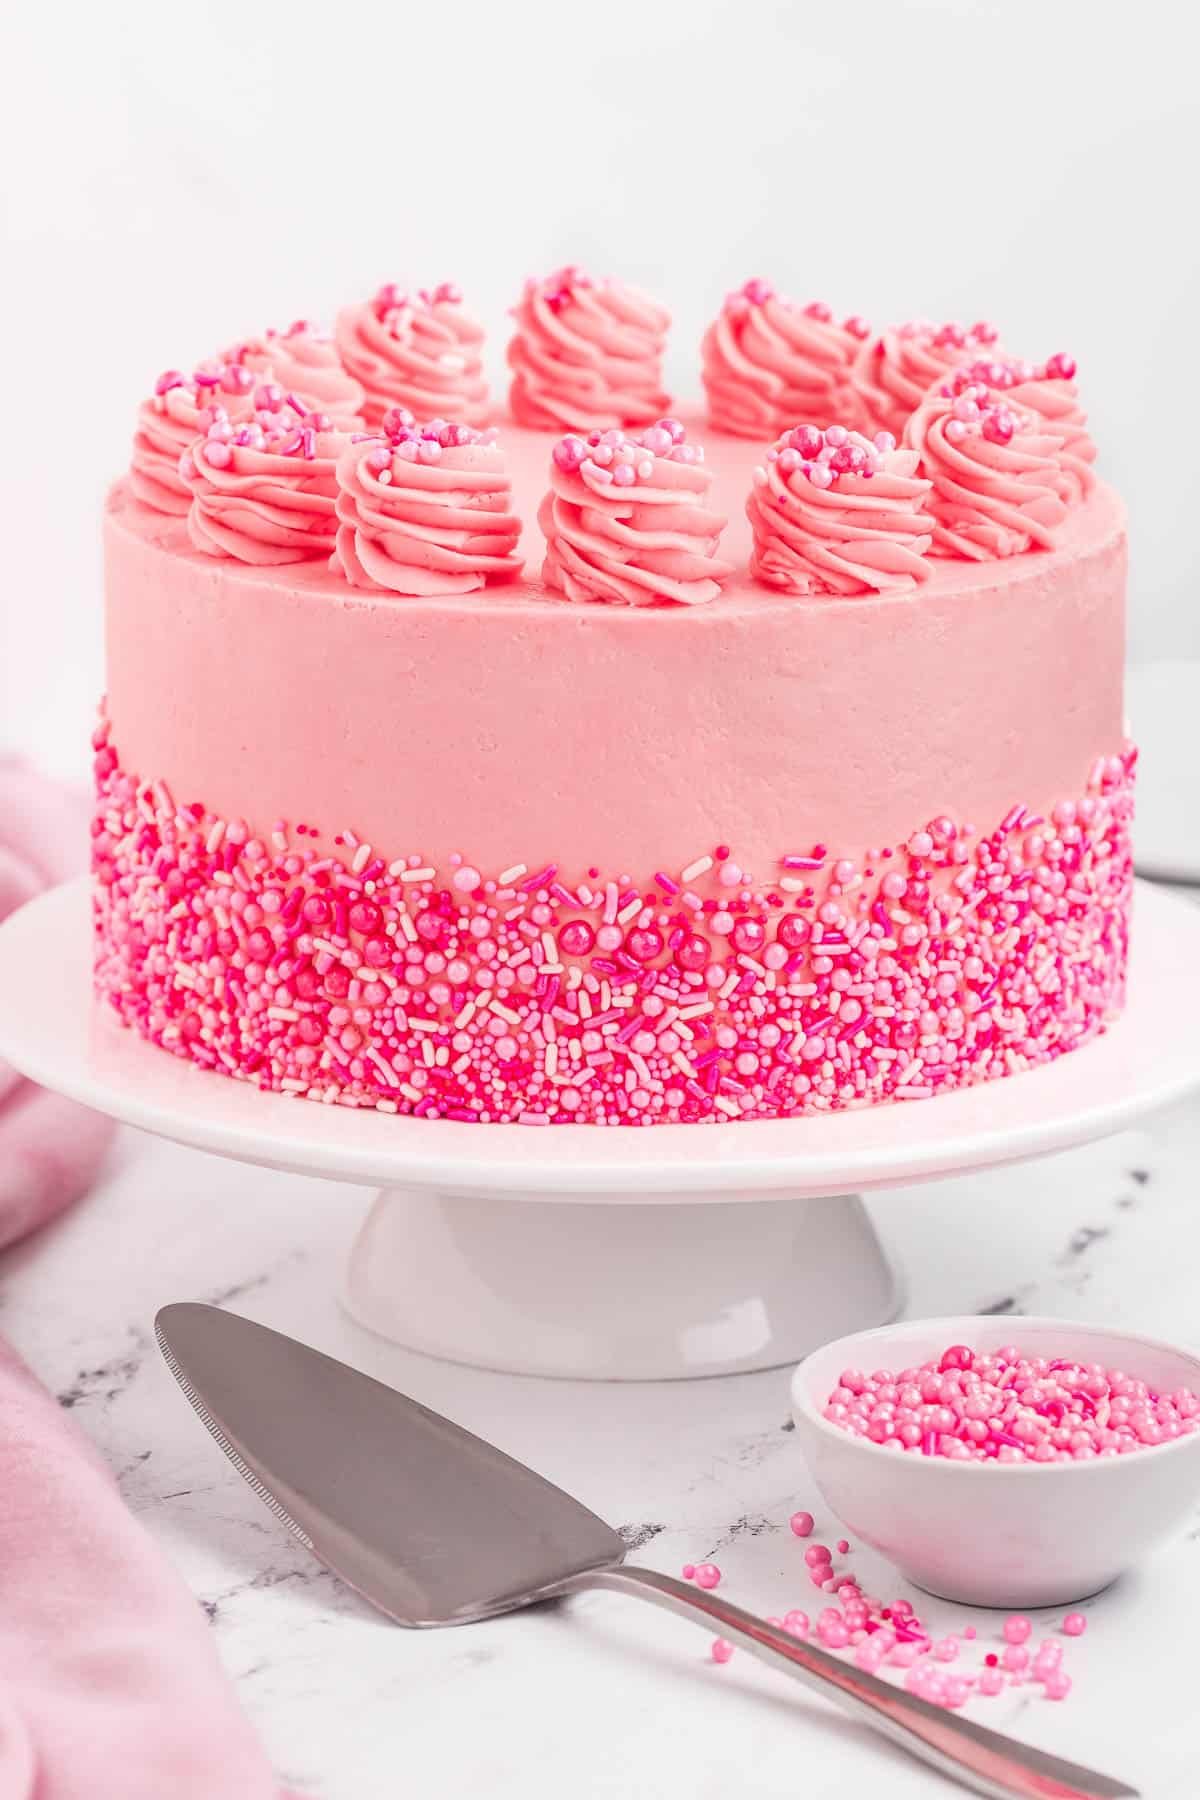
To assemble the cake, trim the cakes with a serrated knife to create flat, even layers. Dab a little frosting onto a cake board, and place the first layer of cake on top. Pipe a layer of frosting onto the layer, then add the next cake on top. Repeat the process with the final layer of cake. Apply a thin layer of frosting to create a crumb coat, then chill the cake. Add more frosting to the cake, then use a scraper to create a smooth finish. Press sprinkles halfway up the sides of the cake. Pipe some rosettes on top, add a few more sprinkles then your cake is ready to be enjoyed.
Tips For The Perfect Pink Velvet Cake
- Pink velvet cake can be stored at room temperature for up to 3 days or in the refrigerator. The cake is best enjoyed at room temperature so one to two hours before serving, remove from the refrigerator. The cake can be wrapped in individual portions and stored in a container in the freezer for up to 3 months.
- Baking strips help to prevent doming and create even layers. You can purchase them online or in the cake decorating aisle at craft stores.
- Using a kitchen scale helps to make sure each pan has the same amount of batter.
- Cutting the outside edge of the cake with a serrated knife before using a cake leveler to cut through the cake can help prevent tearing.
- To create guide points for even frosting rosettes, draw around an 8-inch cake pan on parchment and cut out a smaller circle around ½ inch from the drawn edge. Fold in half, half again and then into thirds. Open this out and place on top of the cake. Use a toothpick to mark each point. Use these as a guide to pipe the rosettes evenly.
Quick Tip
You can use less food coloring for a paler shade of pink, or more food coloring for a darker hue.
Recipe FAQs
Pink cake contains basic ingredients such as flour, butter, sugar, eggs, oil, vanilla extract and food coloring. It also may contain items like buttermilk, vinegar, salt, baking powder and baking soda.
There are two differences between red velvet cake and pink velvet cake. One difference is the color. The second difference is pink velvet does not contain cocoa powder, as it would tint the batter brown and you would not achieve a nice pink color.
FOLLOW ME
Flavor Variations
This cake is perfect as-is, but you can make a few changes to suit your tastes.
- Frosting: If you don’t want to make Swiss meringue, you can whip up some cream cheese frosting instead. Place 2 1/2 cups of unsalted butter and 20 ounces of softened cream cheese in a mixer, then beat until light and fluffy. Add 9 cups of powdered sugar, 1 cup at a time to the mixer until you have a smooth frosting. Stir in 2 1/2 teaspoons of vanilla extract, then frost your cake.
- Color: This cake can easily be made in any color you like! Simply swap out the food coloring for your desired hue and add sprinkles that match. Use red food coloring to make a red velvet cake!
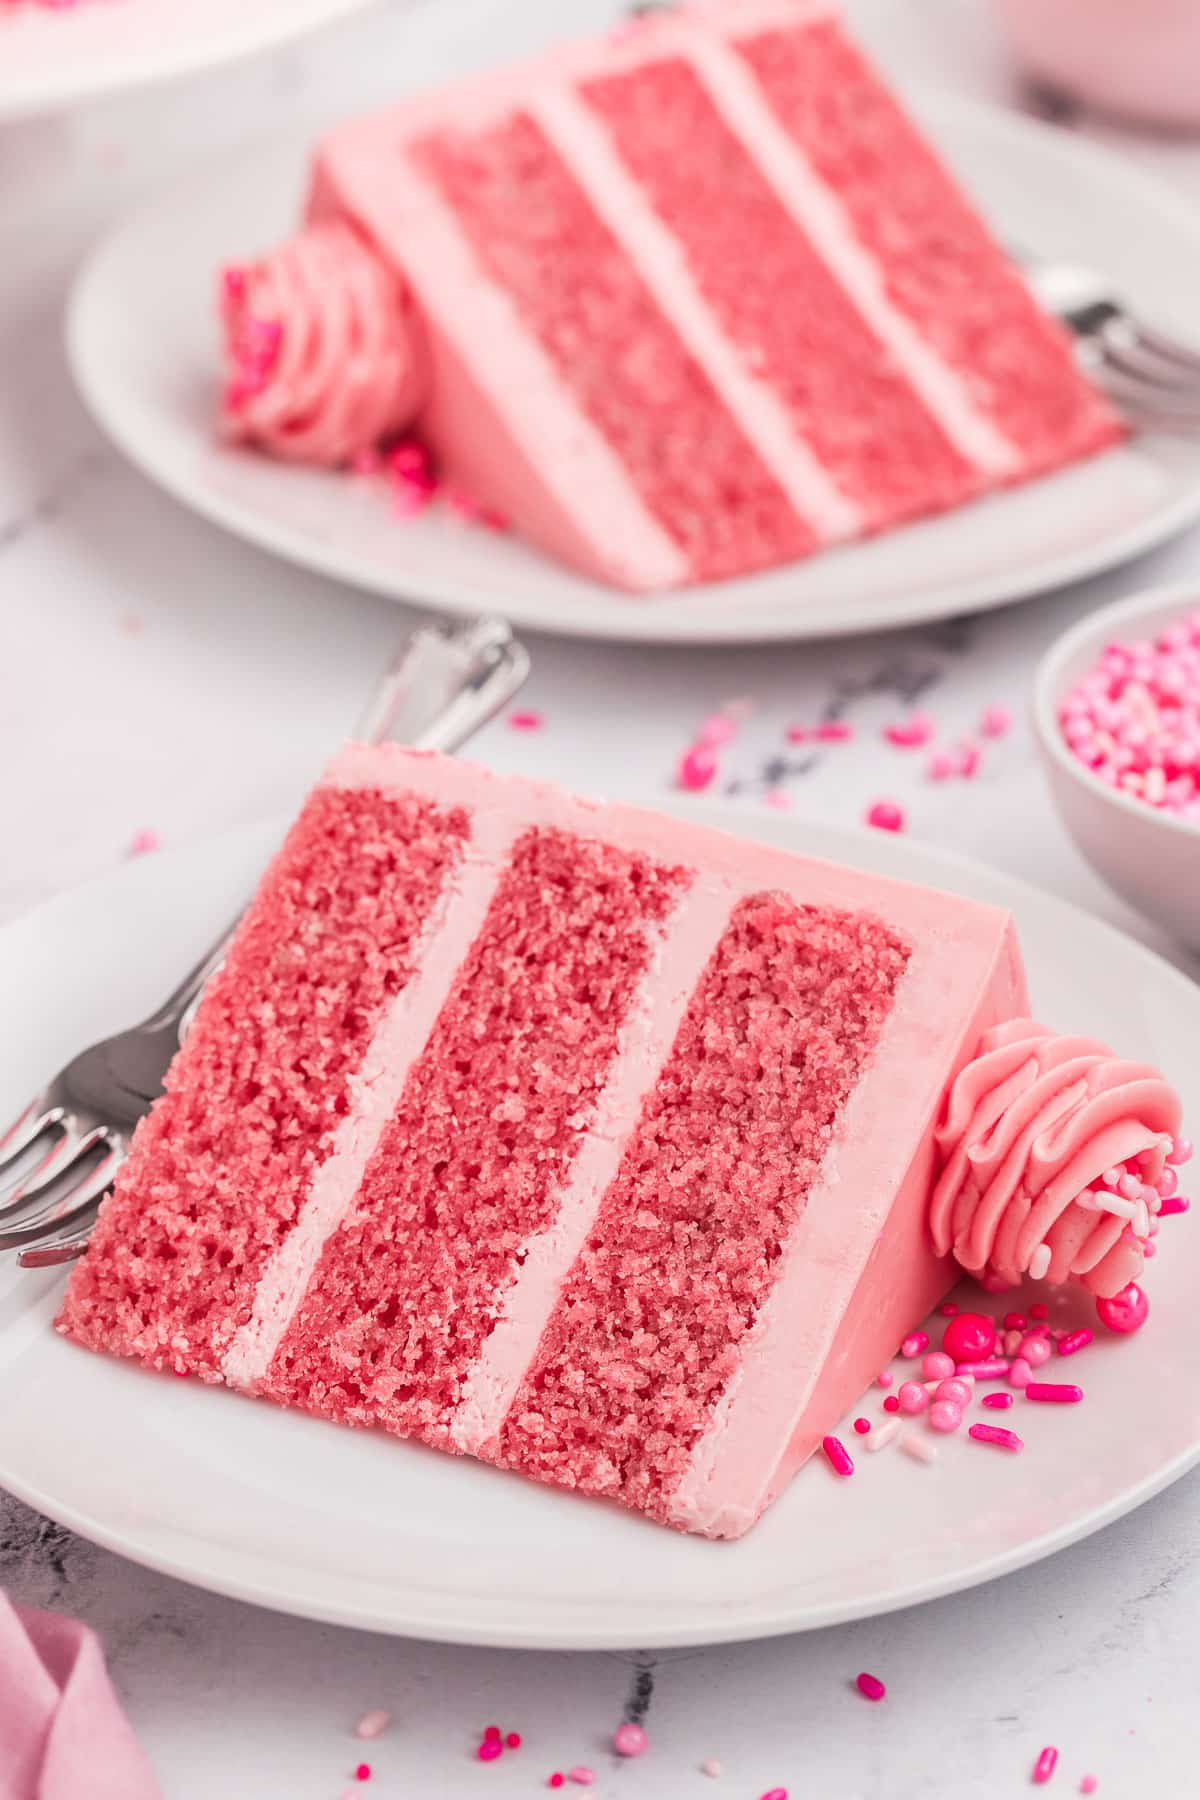
Whether you’re having a party or just looking for a sweet treat, this pink cake is sure to be a winner!
More Dessert Recipes
Brownie Pizza
50 mins
Red Velvet Brownies
3 hrs
Ice Cream Sandwich Cake
21 mins
Pear Custard Pie
1 hr
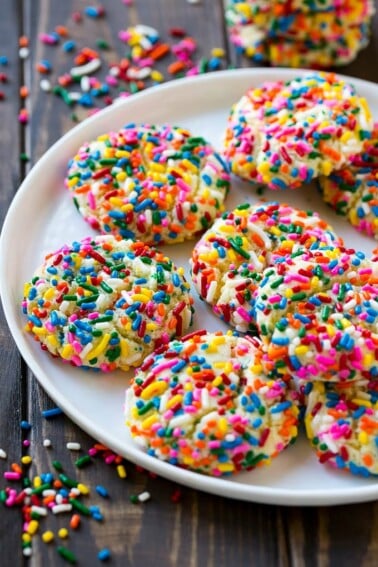
Funfetti Cookies
15 mins
Love This Recipe?
Please leave a 5-star 🌟🌟🌟🌟🌟 rating in the recipe card below & a review in the comments section further down the page.
Pink Cake
Equipment
- 3 8 inch round cake pans
- 3 cake baking strips
- stand mixer
- cake leveler
- cake turntable
- cake scraper
- 8 inch and 10 inch cake boards
- piping bags
- large round and large closed star piping tips
Ingredients
For the cake
- 3¾ cups all purpose flour
- 1¼ teaspoons baking powder
- 1¼ teaspoons baking soda
- 1¼ teaspoons salt
- 2⅔ cups granulated sugar
- 1¾ cups buttermilk
- 1 cup unsalted butter, melted
- ¼ cup vegetable oil
- 3 eggs
- 2 teaspoons vanilla extract
- 1¼ teaspoons distilled white vinegar
- ½ teaspoon pink gel food coloring
- cooking spray
For the frosting
- 12 egg whites
- 3 cups granulated sugar
- 30 ounces unsalted butter cubed and softened
- 1/8 teaspoon pink gel food coloring
For assembly
- 1/2 cup pink sprinkles
Instructions
For the cake
- Preheat the oven to 325 degrees F. Coat three 8-inch cake pans with cooking spray and line the bottom and sides with parchment paper. Soak three cake baking strips in water.
- Sieve the flour, baking powder, baking soda, and salt into the bowl of a mixer, then stir in the sugar.
- In a separate bowl, use a whisk to combine the buttermilk, melted butter, vegetable oil, eggs, vanilla, vinegar, and pink food coloring.
- Slowly mix the wet ingredients into the dry ingredients using a stand mixer fitted with the paddle attachment until the mixture is just combined. Be careful not to overmix your batter.
- Pour the batter evenly between the three pans. Squeeze out the excess water from the baking strips and secure around the pans.
- Bake for 50-55 minutes, or until the cakes are springy to touch and a toothpick comes out clean or with a few crumbs attached.
- Let the cakes cool in the pans for 20 minutes, then carefully invert the cakes onto a cooling rack. Remove the parchment and cool completely.
For the frosting
- Fill a pot halfway with water, and bring it to a simmer. Place a bowl of the egg whites and sugar over the pot of simmering water, and whisk to combine. Continue to heat, whisking frequently until the temperature reaches 160°F and whisk for a further 2 minutes. This makes the egg whites safe to eat by killing any bacteria that may be present.
- Transfer the mixture to the bowl of a stand mixer fitted with the whisk attachment. Whisk on high for around 10 minutes until the mixture forms soft peaks and resembles meringue.
- Change the mixer to the paddle attachment and mix on slow as you add the butter, a few cubes at a time.
- To begin with the mixture will appear to be curdled, this is normal. Continue to mix and after a few minutes it will transform into a silky smooth buttercream.
- To tint the buttercream, use a toothpick to add a small amount of food coloring at a time. Mix after each addition until you are satisfied with the color. It should be paler than the cake layers for contrast. For best results use the frosting right away.
- Set aside 1 cup of frosting to pipe the rosettes.
For assembly
- Trim the top and bottom off the cakes with a large, serrated knife or cake leveler to remove the crust and create flat, even layers.
- Attach an 8-inch cake board onto a 10-inch cake board with a little buttercream. Place onto a cake turntable and attach one cake layer onto it with a little buttercream. Pipe a thin layer of frosting over the cake layer, smooth with a cake scraper if necessary, then add the second layer on top. Repeat with more frosting and add the third layer.
- Trim the sides of the assembled cake with a serrated knife to create a flat surface.
- Use an offset spatula to apply a thin crumb coat of buttercream. Chill the cake for 15-20 minutes until set.
- Add more buttercream to the top and sides of the cake and use a cake scraper to create a smooth top and sides. Chilling the cake at intervals makes this process easier.
- Press sprinkles into the side of the cake around the bottom edge going up around halfway. Running a cake smoother around the base of the cake over the sprinkles helps to flatten them into the sides of the cake. Chill until firm.
- Place a large, closed star nozzle into a large piping bag and fill with the reserved frosting.
- Pipe 12 rosettes around the top edge of the cake.
- Sprinkle a few sprinkles onto each rosette.
- Transfer the cake to a cake stand to serve.
Notes
- Pink velvet cake can be stored at room temperature for up to 3 days or in the refrigerator. The cake is best enjoyed at room temperature so one to two hours before serving, remove from the refrigerator. The cake can be wrapped in individual portions and stored in a container in the freezer for up to 3 months.
- Baking strips help to prevent doming and create even layers. You can purchase them online or in the cake decorating aisle at craft stores.
- Using a kitchen scale helps to make sure each pan has the same amount of batter.
- Cutting the outside edge of the cake with a serrated knife before using a cake leveler to cut through the cake can help prevent tearing.
- To create guide points for even frosting rosettes, draw around an 8-inch cake pan on parchment and cut out a smaller circle around ½ inch from the drawn edge. Fold in half, half again and then into thirds. Open this out and place on top of the cake. Use a toothpick to mark each point. Use these as a guide to pipe the rosettes evenly.




This looks incredible. I’m making it for Easter dessert because it goes with the pastel theme.
OOH such a pretty cake and it was absolutely delicious, too!
Such a perfect cake for a baby shower!
Beautiul cake, love this!