This heart cake recipe is a red velvet cake that is shaped like a heart, and topped with cream cheese frosting and sprinkles. An easy and elegant dessert that’s perfect for Valentine’s Day!
When I need some fun and festive dessert recipes for Valentine’s Day, I turn to options like heart cookies, red velvet brownies, chocolate covered cherries, black forest cupcakes, chocolate fondue and this beautiful heart cake.
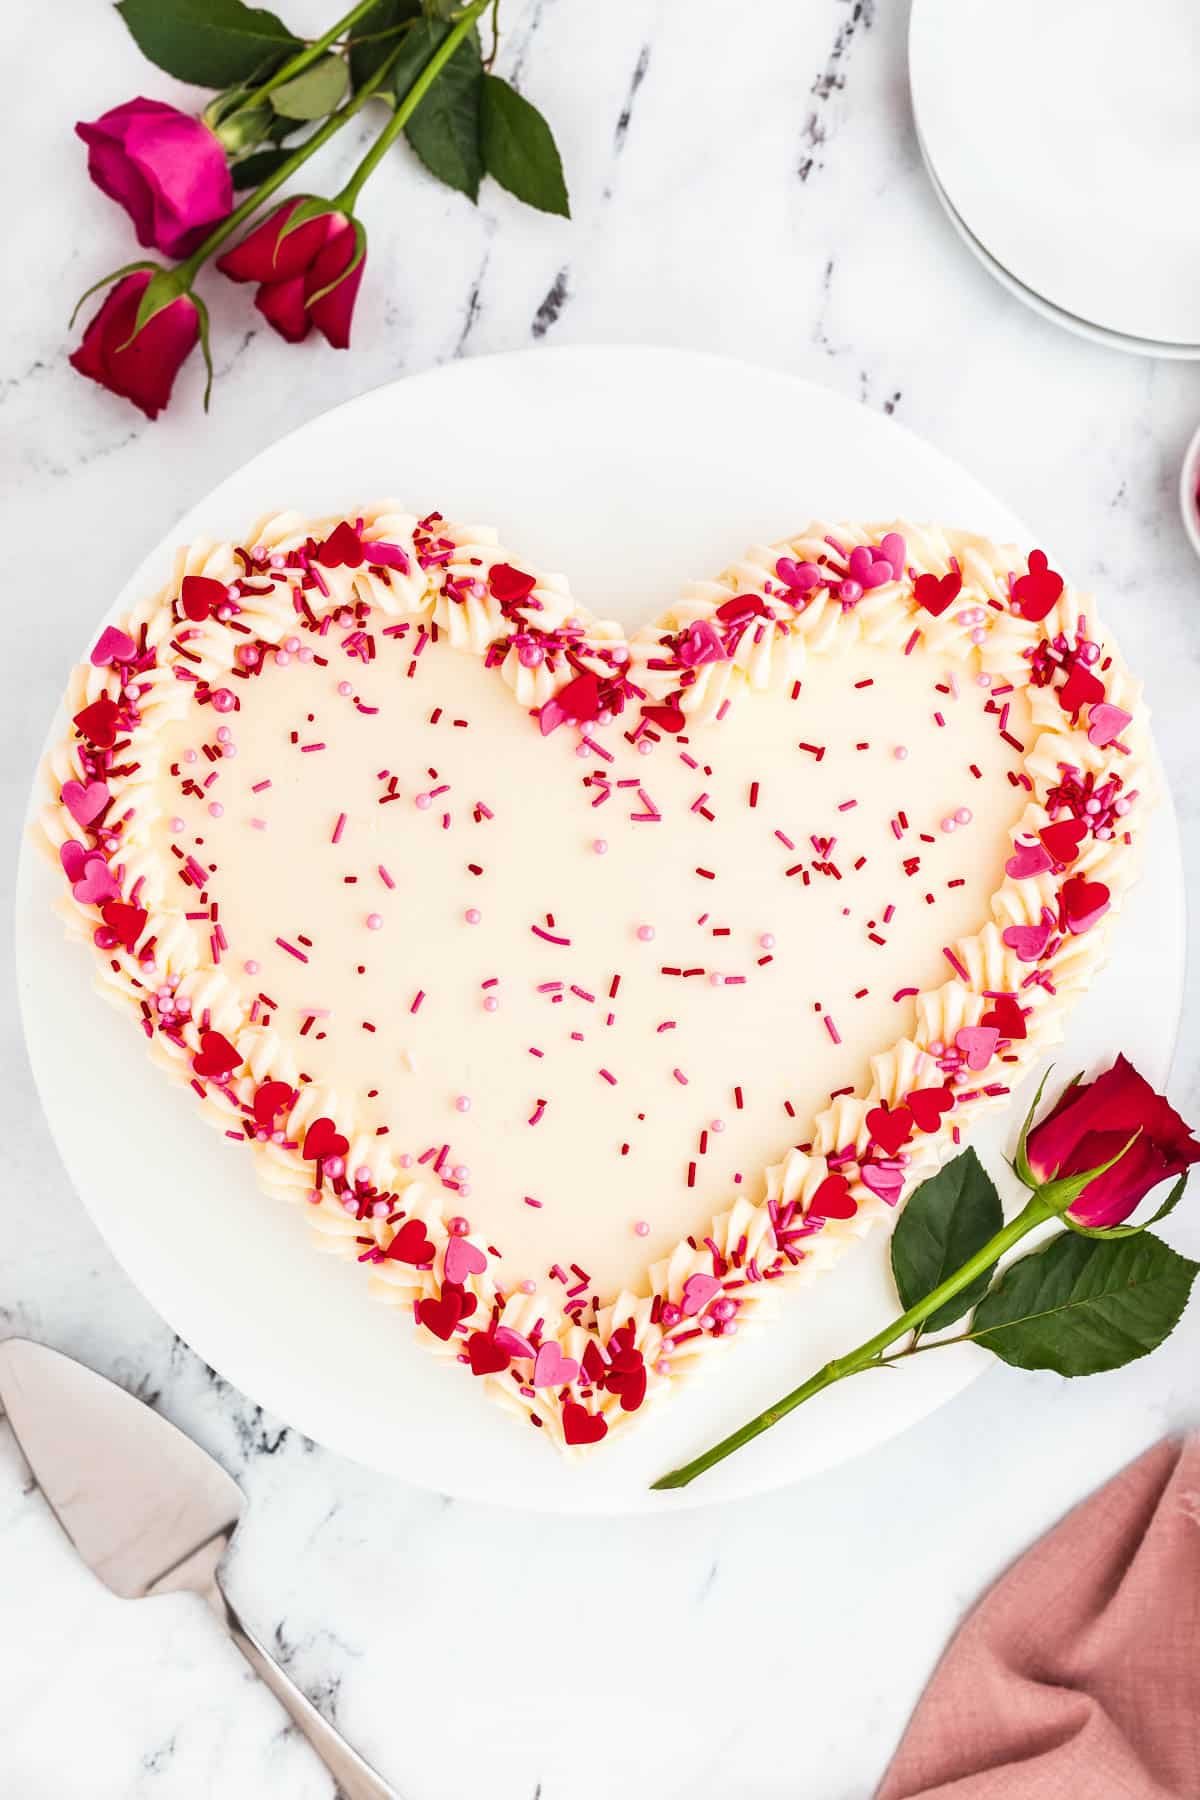
Nothing says “I love you” like a heart, and this heart cake is the perfect dessert to celebrate the important people in your life. This recipe includes a tutorial on how to cut a heart shape out of round cakes, which means you don’t need to purchase a special pan!
Table of Contents
Heart Cake Ingredients
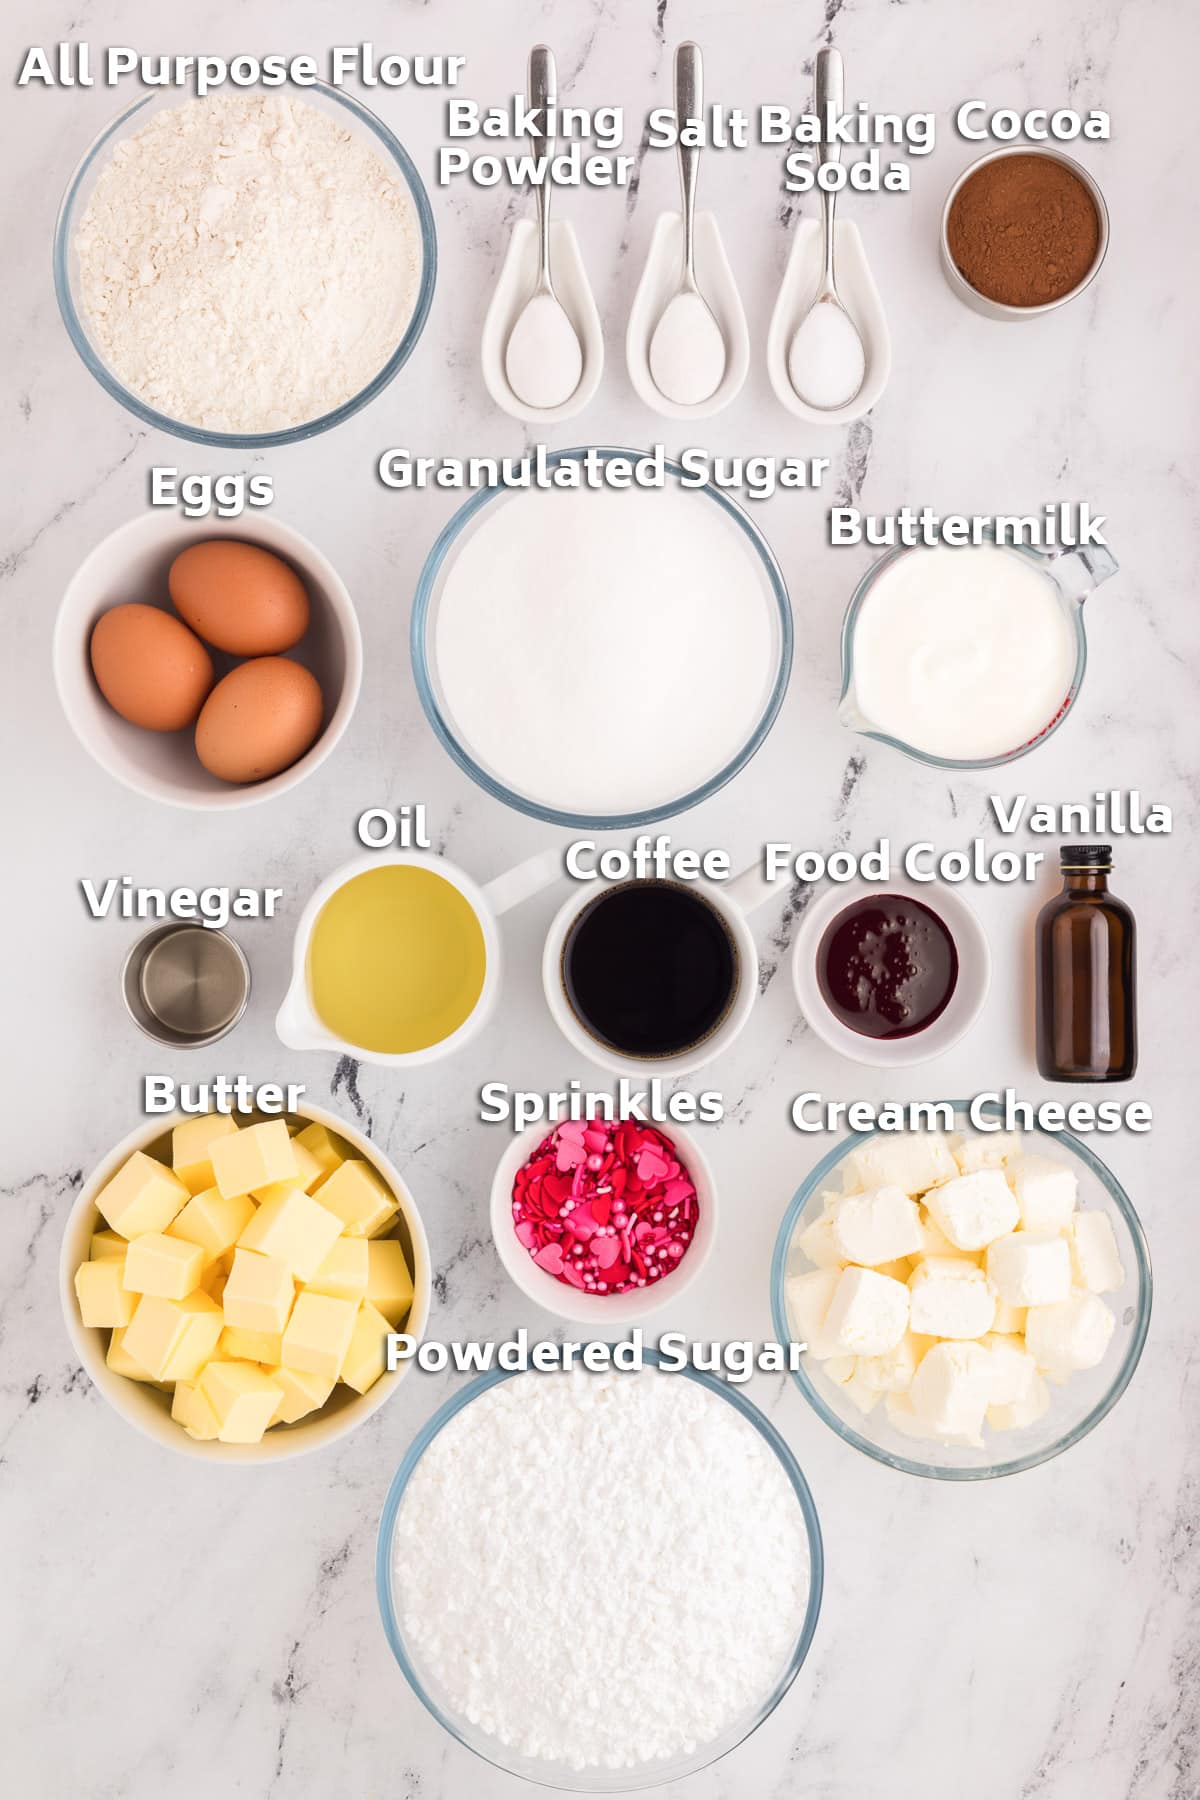
To make this cake, you will need all purpose flour, cocoa powder, baking soda, baking powder, salt, granulated sugar, buttermilk, vegetable oil, eggs, vanilla extract, white vinegar, instant coffee, red food coloring, butter, powdered sugar, cream cheese and sprinkles.
How Do You Make A Heart Cake?
For The Cake
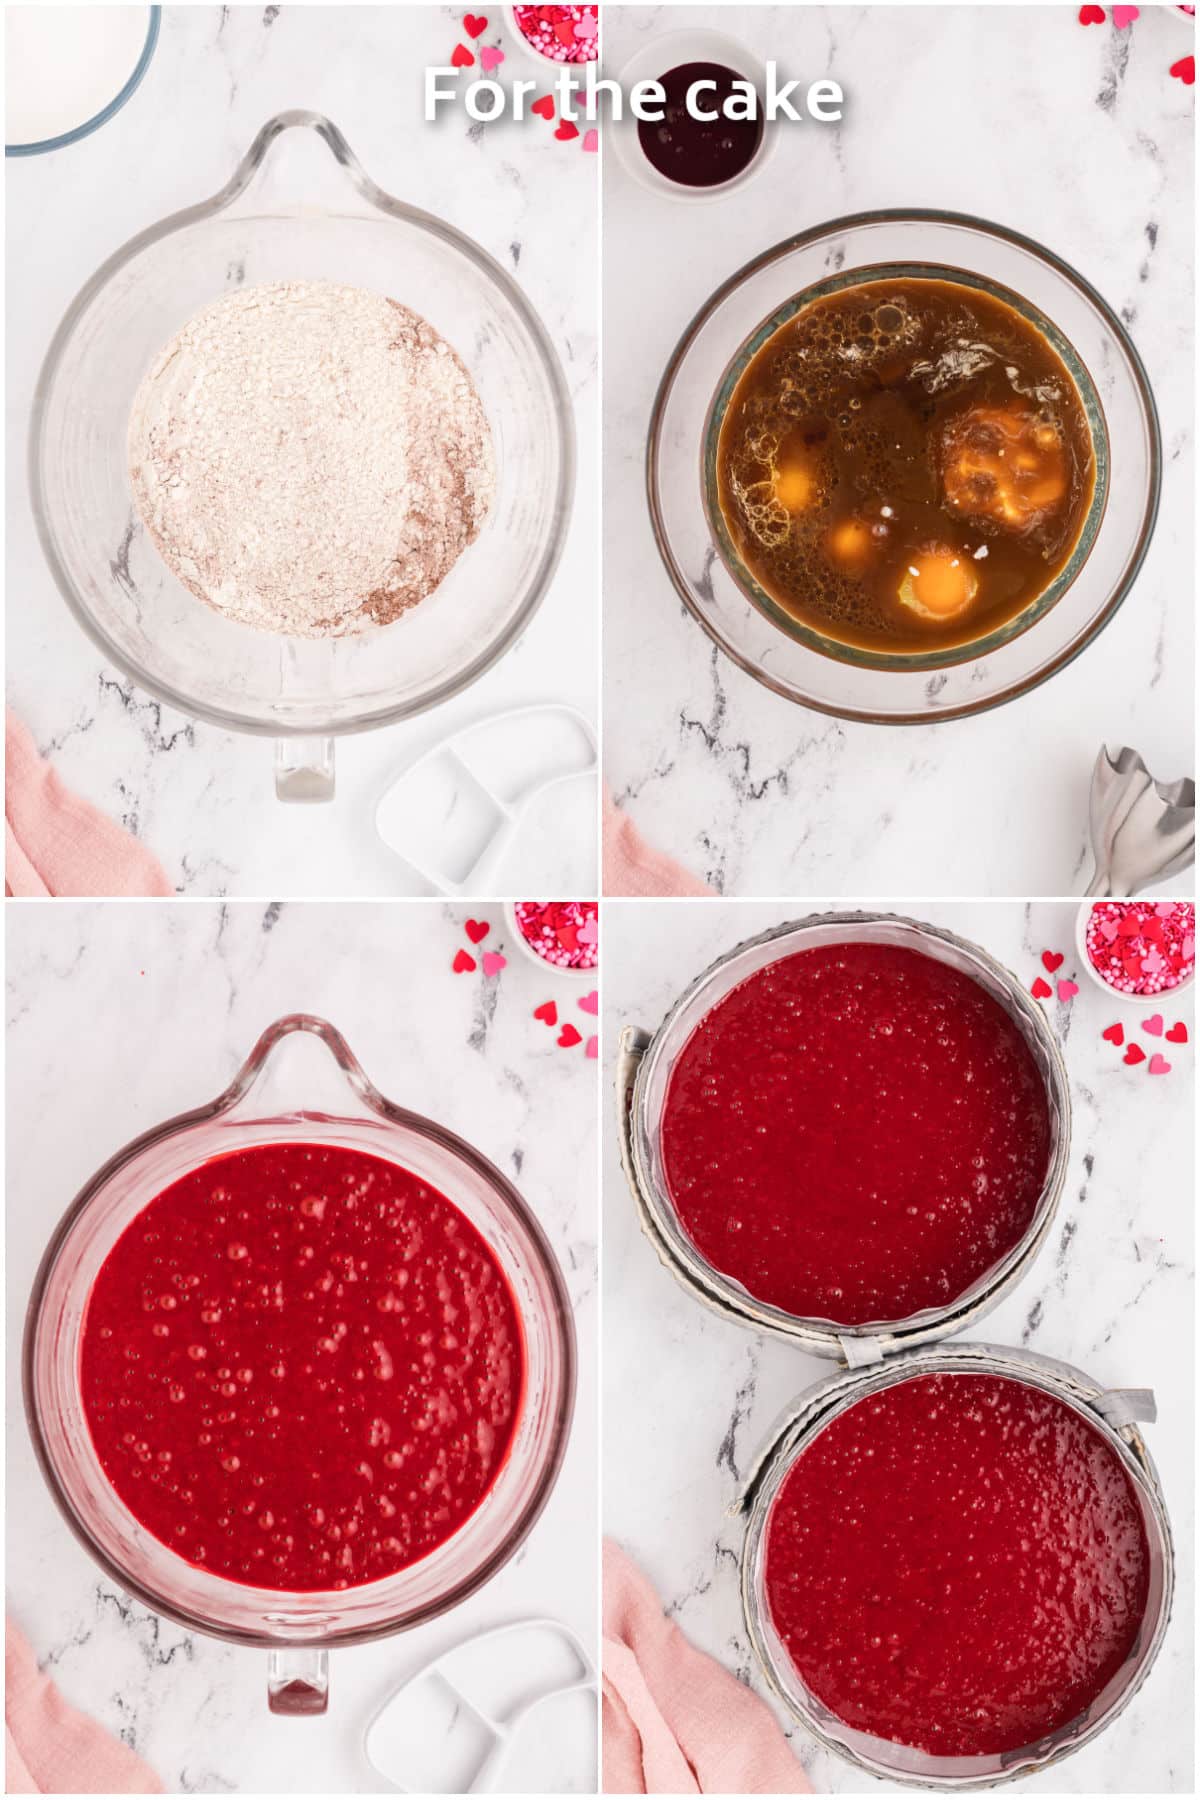
The first step is to prepare the cake layers. Preheat the oven, then coat two round cake pans with cooking spray and line the bottoms and sides with parchment paper. Soak cake baking strips in water, then wrap the strips around the pans after the batter goes in. Sift the flour, cocoa powder, baking powder, baking soda and salt into the bowl of a mixer. Add the sugar to the bowl, then stir to combine. In a separate large bowl, whisk together the buttermilk, oil, eggs, vanilla, coffee diluted in water and red food coloring. Turn on the mixer to low speed, then slowly mix the wet ingredients into the dry ingredients. Be sure not to overmix the batter. Divide the batter between the two pans, then bake until a toothpick comes out clean. Cool the cakes for 20 minutes, then invert them onto a cooling rack and cool completely.
For The Frosting
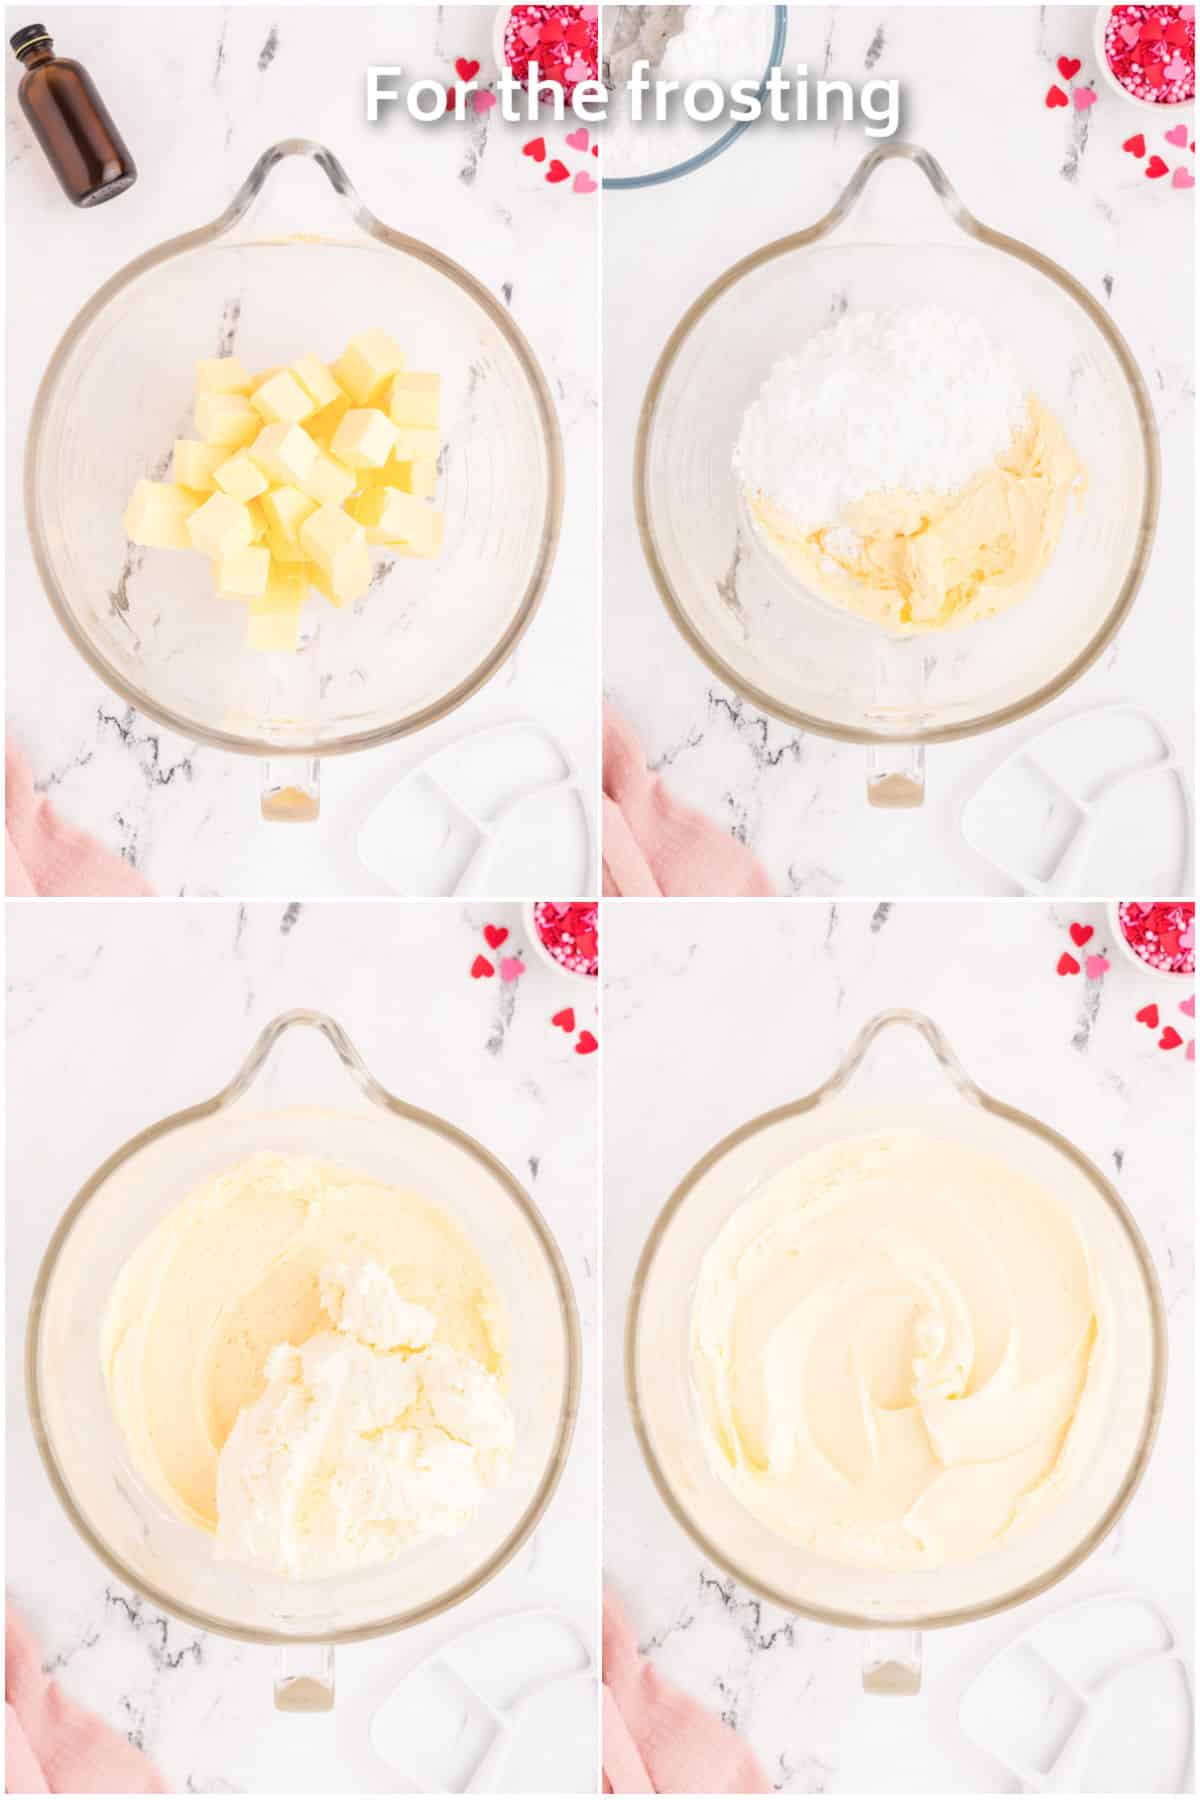
While the cakes are cooling, prepare the frosting. Place the butter and vanilla extract in the bowl of a mixer, and cream to combine. Turn the mixer to low, then add the powdered sugar, one cup at a time, until everything is blended. In a separate bowl, beat the cream cheese until smooth, then add the cream cheese to the butter and sugar and beat until you have a smooth and creamy frosting.
For The Heart Shape
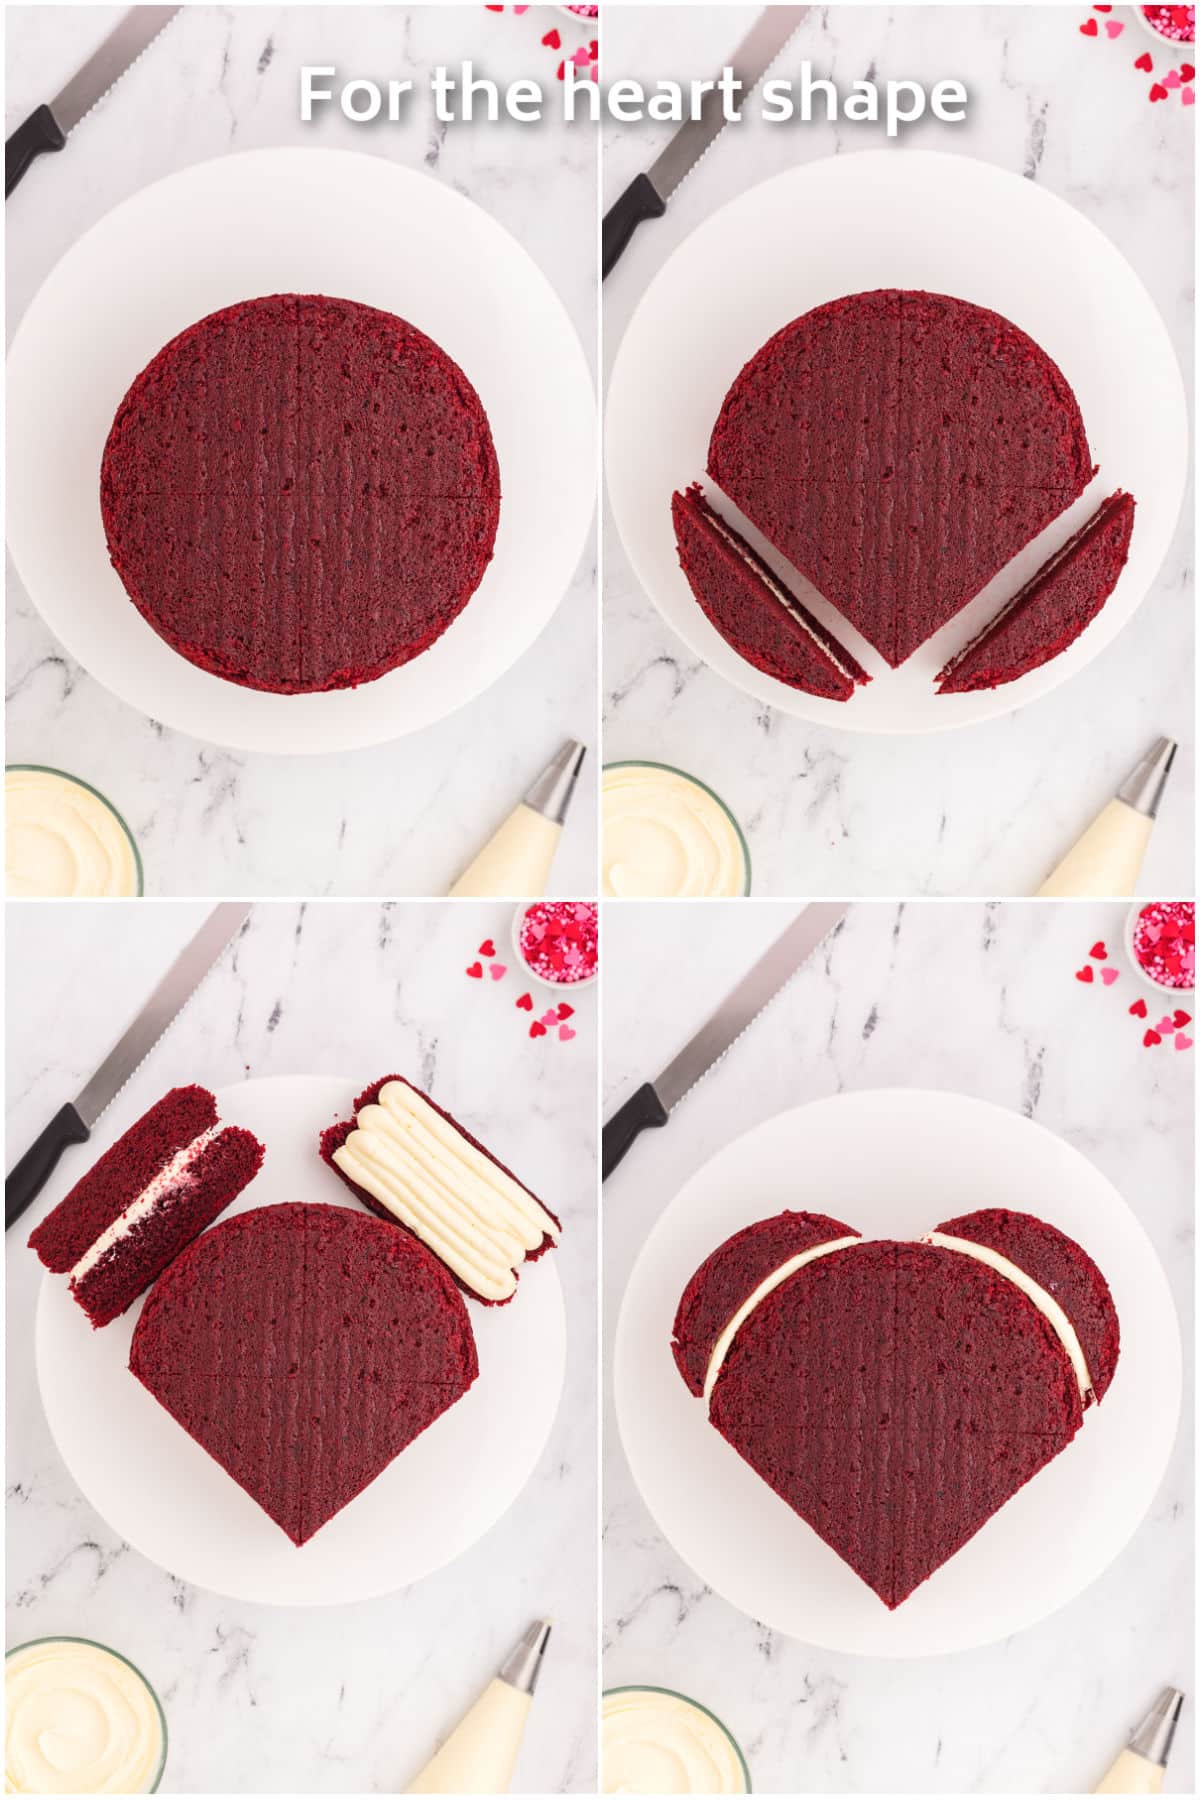
To assemble the cake, trim the tops of the cakes to create flat, even layers. Place one cake on a cake stand close to the bottom edge. Pipe a thin layer of frosting over the cake layer with a medium round tip, then add the second layer on top. Use a serrated knife to score a cross shape on top of the cake. On each side, cut a wedge from the bottom point of the cross to the horizontal point of the cross. Turn the cut wedges on their side with the cut portion facing outward. Pipe frosting onto the cut sides, then attach each wedge to the top rounded part of the cake to form a heart shape. Apply a crumb coat of frosting to the cake, then let it chill.
For The Decorating
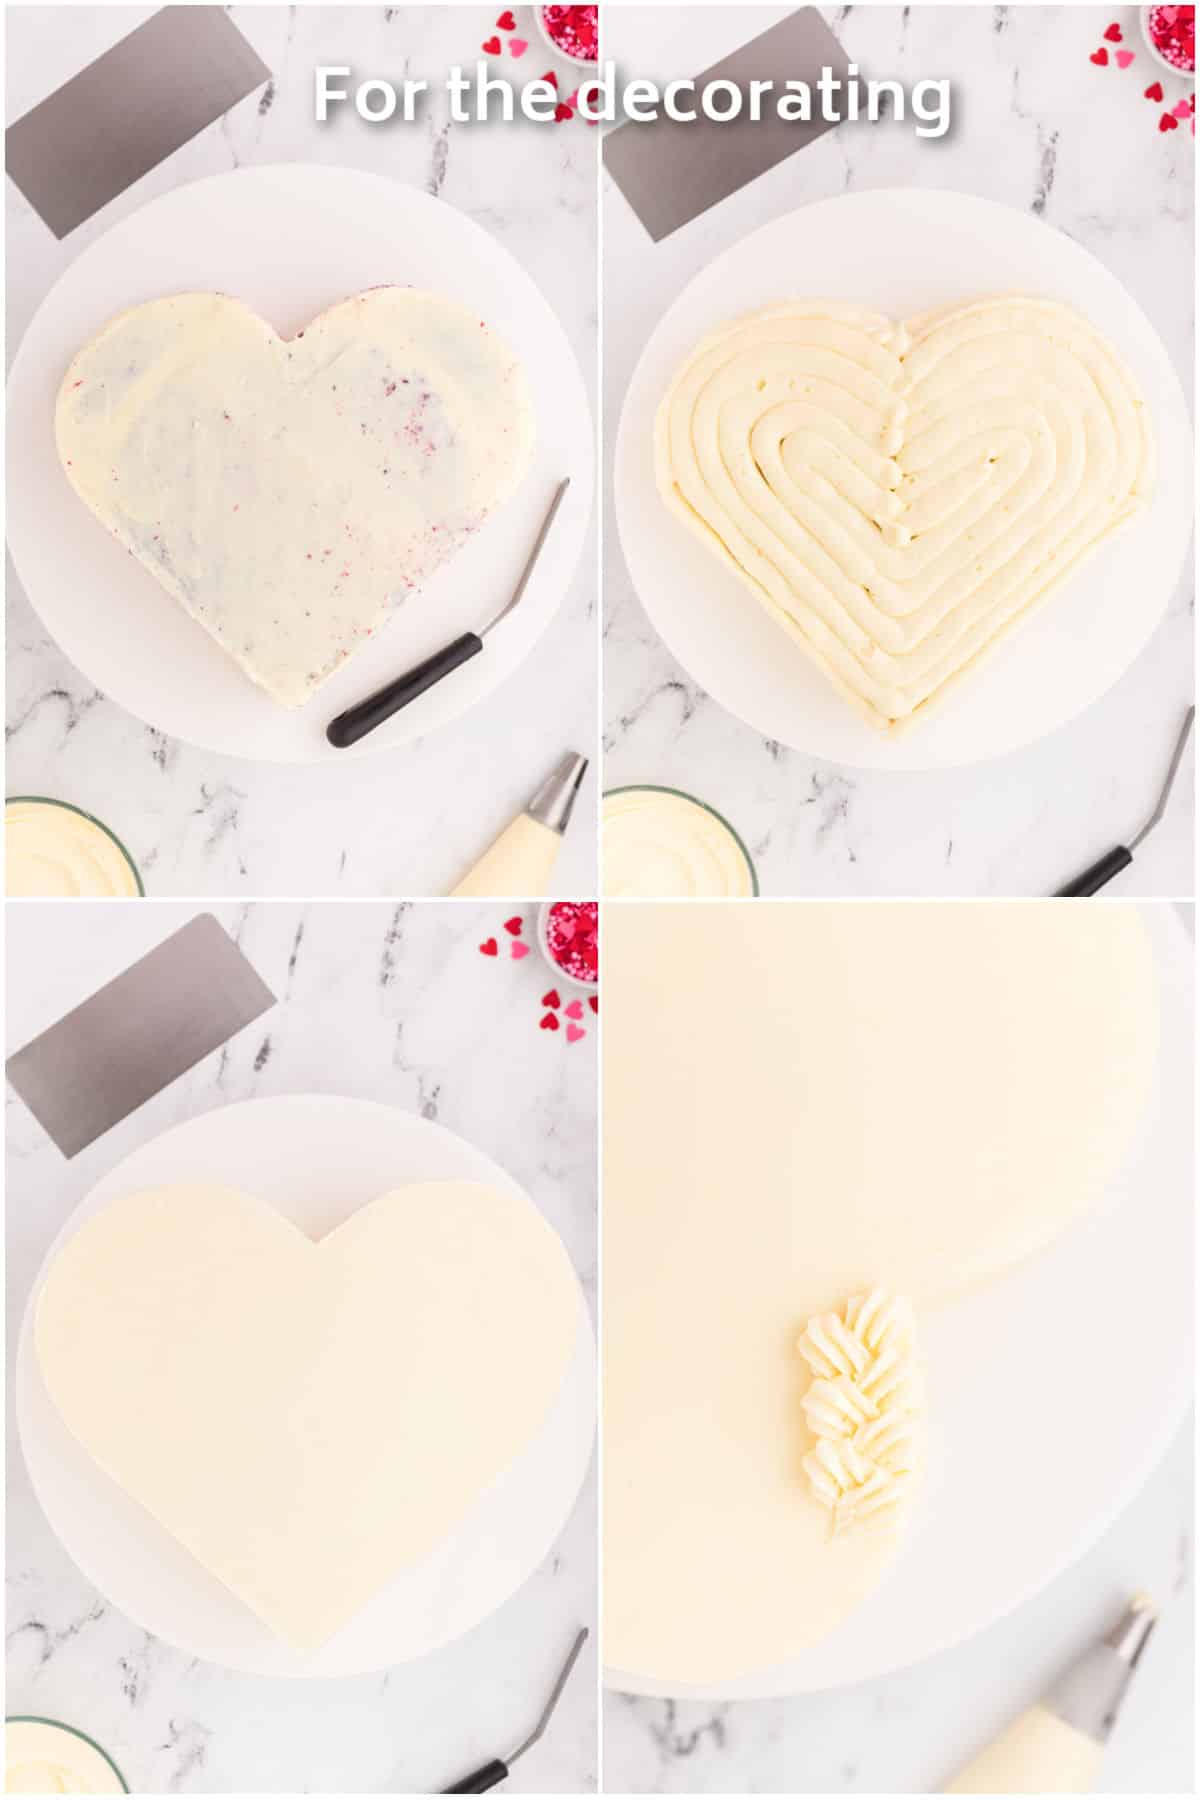
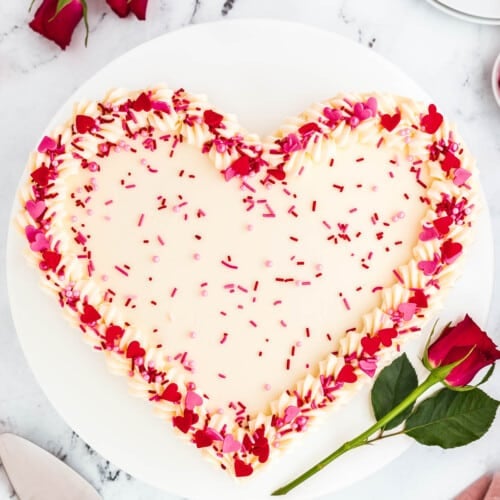
For the final decorations, add more frosting to the cake, and use a cake scraper to create a smooth, final coat of frosting. Reserve 1 1/2 cups of the frosting to make the border. Place the reserved frosting in a piping bag fitted with a large star tip. Pipe small diagonal lines of frosting to form the border. Add some sprinkles of your choice, then serve and enjoy.
Tips For The Perfect Cake
- You can use any sprinkles you like. I went with a blend of red and pink hearts, along with pink pearls and red and pink jimmies.
- Chilling the cake at intervals in the refrigerator or freezer will help to create a smooth finish of frosting. If you prefer, you can create a textured finish with an offset spatula.
- Applying a crumb coat helps to prevent any red crumbs in the final layer of frosting. It also provides a firm base to apply the frosting.
- As the frosting contains cream cheese, keep the cake refrigerated for up to 3 days until required. The cake is best enjoyed at room temperature so one to two hours before serving, remove from the refrigerator.
- Beating the cream cheese in a separate bowl helps to ensure that there are no lumps in the final frosting.
- Use a kitchen scale to make sure each cake pan has the same amount of batter.
- If you have a hand blender, use it instead of a whisk to blend the wet ingredients for the batter.
- After you attach the cake wedges to the top of the cake, you can cut a V shape in the center between the wedges to accentuate the heart shape.
Quick Tip
I highly recommend using cake baking strips, which wrap around the outside of the pan and help to create flat top cakes.
Recipe FAQs
You can cut two even sized wedges off of each side of a round cake. Attach those wedges to the remaining rounded part of the cake with frosting. This will create a heart shape cake without having to buy a heart pan.
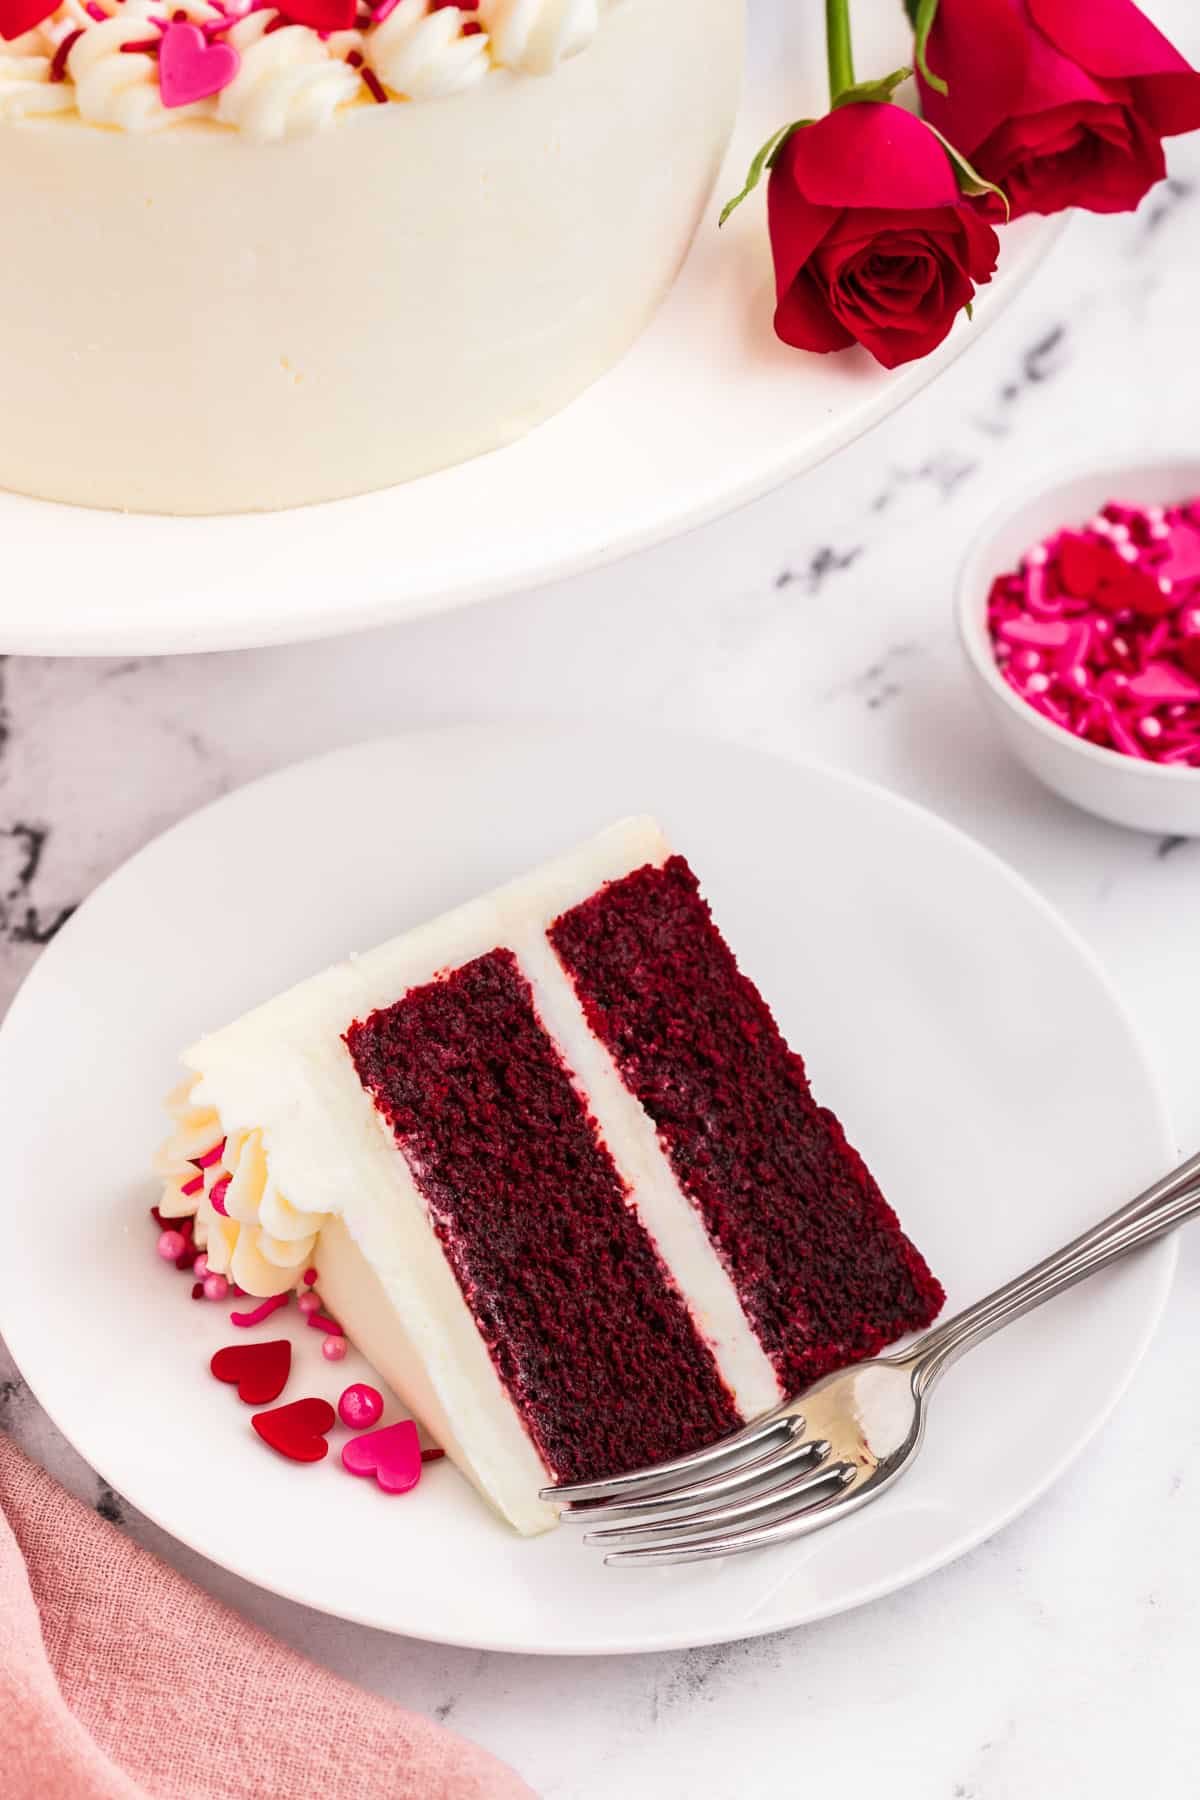
Red velvet cake is a moist cake that is a cross between vanilla and chocolate cake. It contains cocoa powder, but in a much smaller amount than a regular chocolate cake, which gives it a milder flavor.
FOLLOW ME
Flavor Variations
While this cake is beautiful as-is, you can make a few changes to the decorations to customize it to your liking.
- Frosting: You can tint the cream cheese frosting a color by adding some gel food coloring. Sometimes I like to turn the frosting pink!
- Sprinkles: Instead of sprinkles, try topping the cake with fresh fruit such as strawberries or raspberries. Maraschino cherries are also a great option.
This heart cake is beautiful, delicious, and so impressive. It’s sure to be a huge hit with your sweetheart!
More Dessert Recipes
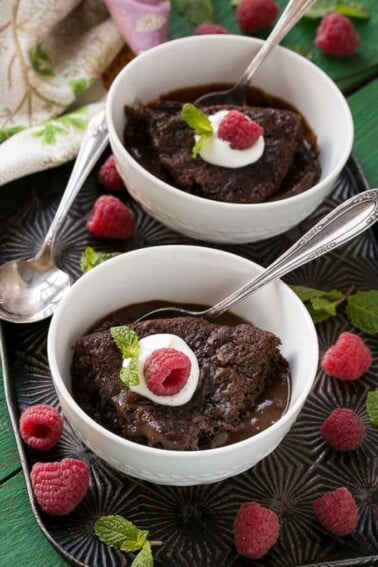
Chocolate Pudding Cake
45 mins
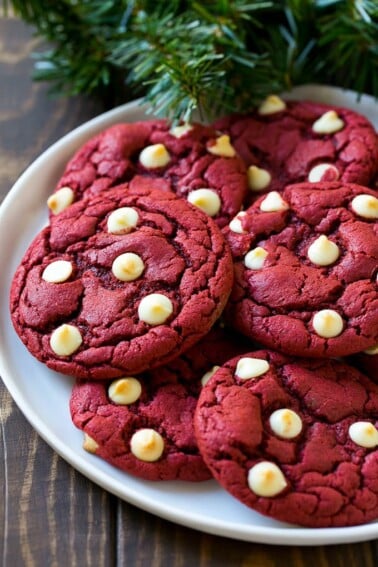
Red Velvet Cookies
35 mins
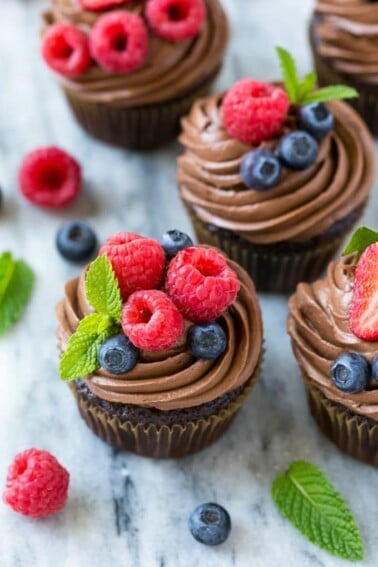
Chocolate Hazelnut Cupcakes
50 mins
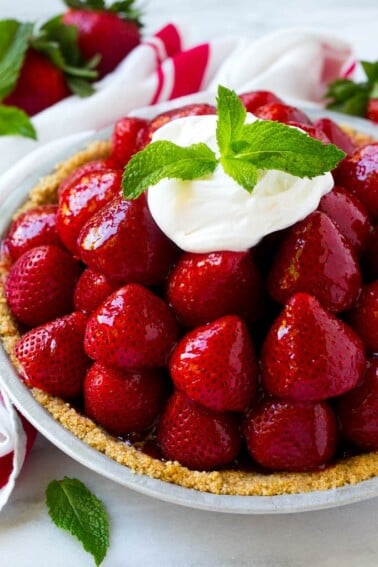
Fresh Strawberry Pie
1 hr 35 mins
Love This Recipe?
Please leave a 5-star 🌟🌟🌟🌟🌟 rating in the recipe card below & a review in the comments section further down the page.
Heart Cake
Equipment
- 2 9 inch round cake pans
- 2 cake baking strips
- 1 stand mixer or electric mixer
- 1 whisk or hand blender
- 1 cake leveler
- 1 cake stand I used a 14 inch stand
- 2 piping tips large round and large star
- 2 piping bags
Ingredients
For the cake
- 3½ cups all purpose flour
- ⅓ cup cocoa powder
- 1¼ teaspoons baking powder
- 1¼ teaspoons baking soda
- 1¼ teaspoons salt
- 2⅔ cups granulated sugar
- 1¼ cups buttermilk
- 1¼ cups vegetable oil
- 3 eggs
- 2½ teaspoons vanilla extract
- 1¼ teaspoons distilled white vinegar
- 1¼ teaspoons instant coffee dissolved in ⅔ cup hot water
- 2 tablespoons red gel food coloring I used Americolor Super Red
- cooking spray
For the frosting
- 2½ cups unsalted butter cubed and softened
- 2½ teaspoons vanilla extract
- 9 cups powdered sugar
- 20 ounces cream cheese cubed and softened
For garnish
- ½ cup sprinkles I used red and pink hearts, pearls and jimmies
Instructions
For the cake
- Preheat the oven to 325 degrees F. Coat two 9-inch cake pans with cooking spray and line the bottom and sides with parchment paper. Soak the cake baking strips in water.
- Sift the flour, cocoa powder, baking powder, baking soda, and salt into the bowl of a mixer, then stir in the sugar.
- In a separate bowl, use a whisk or hand blender to combine the buttermilk, vegetable oil, eggs, vanilla, vinegar, diluted coffee, and red food coloring. If desired, add more food coloring for a more intense red color.
- Turn the mixer to low speed. Slowly mix the wet ingredients into the dry ingredients until the mixture is just combined. Be careful not to overmix your batter.
- Pour the batter evenly between the two pans. You can use a kitchen scale to measure the pans to make sure they have the same amount of batter.
- Squeeze out the excess water from the baking strips and secure then around the cake pans.
- Bake for 60-65 minutes, or until the cakes are springy to touch and a toothpick comes out clean or with a few crumbs attached.
- Let the cakes cool in the pans for 20 minutes, then carefully invert the cakes onto a cooling rack, and cool completely.
For the frosting
- Beat the butter and vanilla extract together with a stand mixer or electric mixer for 1-2 minutes or until light and fluffy.
- Reduce the mixer speed to low and add the powdered sugar, 1 cup at a time, until everything is combined.
- In a separate bowl beat the cream cheese until smooth. This step ensures there are no lumps of cream cheese in the frosting.
- Add the cream cheese to the frosting mixture and beat until combined. It should be smooth and creamy and have a medium-thick consistency. Set aside 1 ½ cups to pipe a border on the cake.
For the heart shape
- Trim the tops off the cakes with a large, serrated knife or cake leveler to create flat, even layers.
- Place one cake layer on your cake stand or serving plate close to the bottom edge. Pipe a thin layer of frosting over the cake layer, then add the second layer on top.
- To create the heart shape, use a large, serrated knife to score a cross on the top of the cake.
- On each side, cut a wedge from the cake diagonally from the bottom point to the horizontal point on each side.
- Turn the wedges on their sides with the cut side facing upwards. Pipe frosting onto them, then press each firmly onto the top side of the cake to form the mounds of the heart. If desired, cut a small ‘v’ into the cake between the mounds to accentuate the shape.
- Use an offset spatula to apply a crumb coat to the cake. Chill for 30 minutes. This helps to prevent any red crumbs in the final layer of frosting and provides a firm base to apply the frosting.
For the decorating
- Pipe more frosting onto the top and sides of the cake and use a cake scraper to create a smooth finish.
- Place a large star nozzle into a piping bag and fill with the reserved frosting.
- On the top of the cake, pipe a bulb of frosting at the top of one of the mounds and ease the nozzle back diagonally to form a tail. Position the nozzle slightly lower than the first and pipe another bulb and pull back to create another tail. Continue to pipe a border around the top of one side of the cake ensuring each bulb just touches the previous bulb. Repeat on the other side.
- Decorate as desired with sprinkles, then cut into slices, and serve.
Notes
- As the frosting contains cream cheese, keep the cake refrigerated for up to 3 days until required. The cake is best enjoyed at room temperature so one to two hours before serving, remove from the refrigerator.
- Chilling the cake at intervals in the refrigerator or freezer will help to create a smooth finish. If preferred, create a textured finish with the off-set spatula.




It’s the perfect combination of deliciousness and creativity. The heart-shaped design makes it extra special for celebrations or just to show some love.
This cake is gorgeous!! I’m definitely going to be making it for my daughter’s valentine’s day school party this year!
I did a trial run of this at the weekend and oh my goodness, delcious! Your step-by-step instructions were so helpful. Looking forward to making this for Valentine’s Day!
Such a beautiful cake, I am sure it will the best to share during Valentines day.
Thank you for your step by step instructions!! This is happening for valentines day!