These cream cheese danish are a light and flaky pastry topped with a sweet cream cheese filling and fruit. An easy yet elegant breakfast option!
I love a good cheese danish, it’s definitely one of my weaknesses when it comes to breakfast pastries! These cream cheese danishes are quick to make and taste so much better than the grocery store variety!
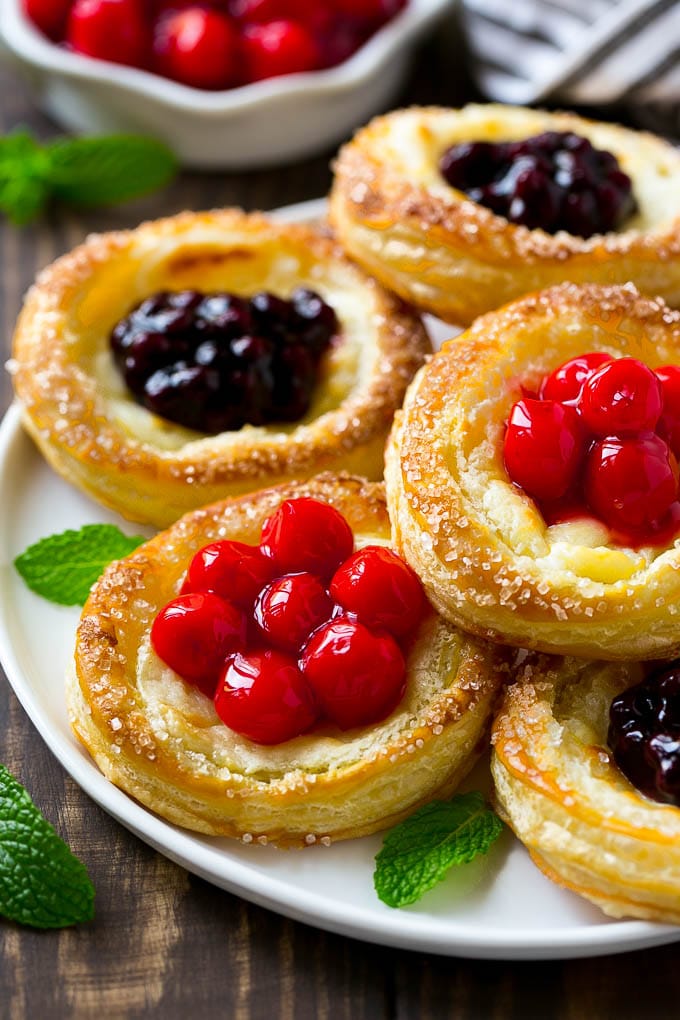
I tend to be more of a savory breakfast person, but the one morning sweet I can’t resist is cream cheese danish. That buttery pastry and cheesecake style filling get me every time! Making cream cheese danish at home is actually quite easy and is an impressive addition to any breakfast or brunch.
How to make cream cheese danish
The trick to easy cream cheese danish is a box of frozen puff pastry. It performs in a similar way as a homemade danish dough would, and is so very convenient to use.
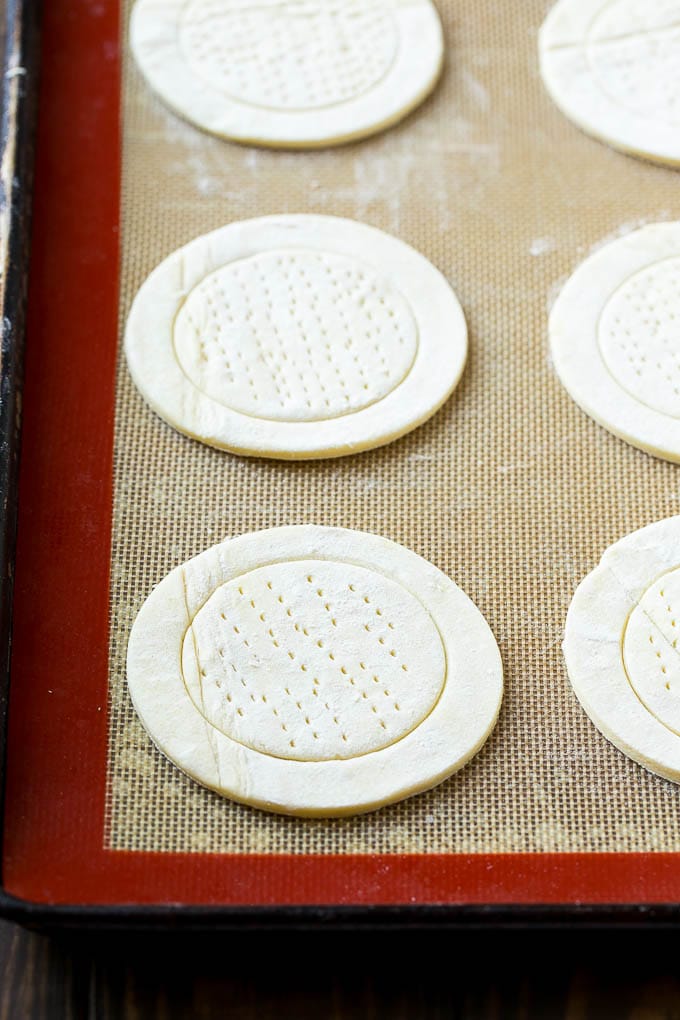
The first step in the process is to cut your pastry into rounds. You can use a 4 inch cookie cutter or the rim of a drinking glass. You’ll want to also use a small knife or smaller cookie cutter to score a circle around the interior, which will create the pastry border for your danish. Pricking the interior pastry with a fork will help to keep it from puffing up too much since that’s where the filling goes.
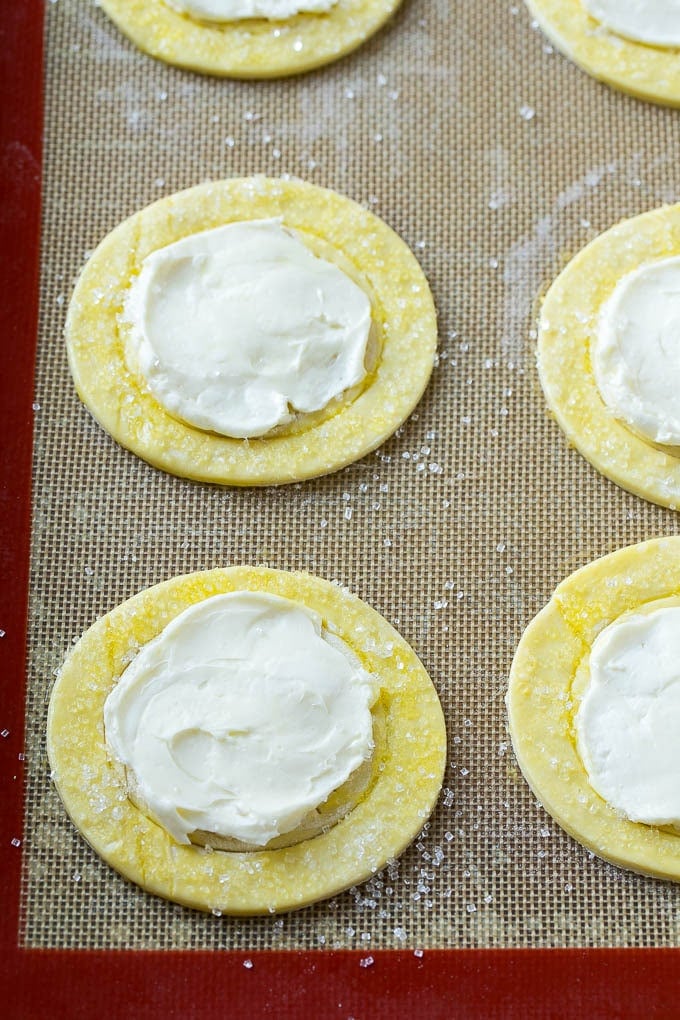
The filling is a sweetened cream cheese that gets spread into the centers of the pastry rounds. The pastry is brushed with egg wash to give it a golden brown shine, and a little coarse sugar goes around the edges for added sweetness and texture.
After the pastries take a quick trip through the oven, you’ll be rewarded with amazingly delicious cream cheese danish!

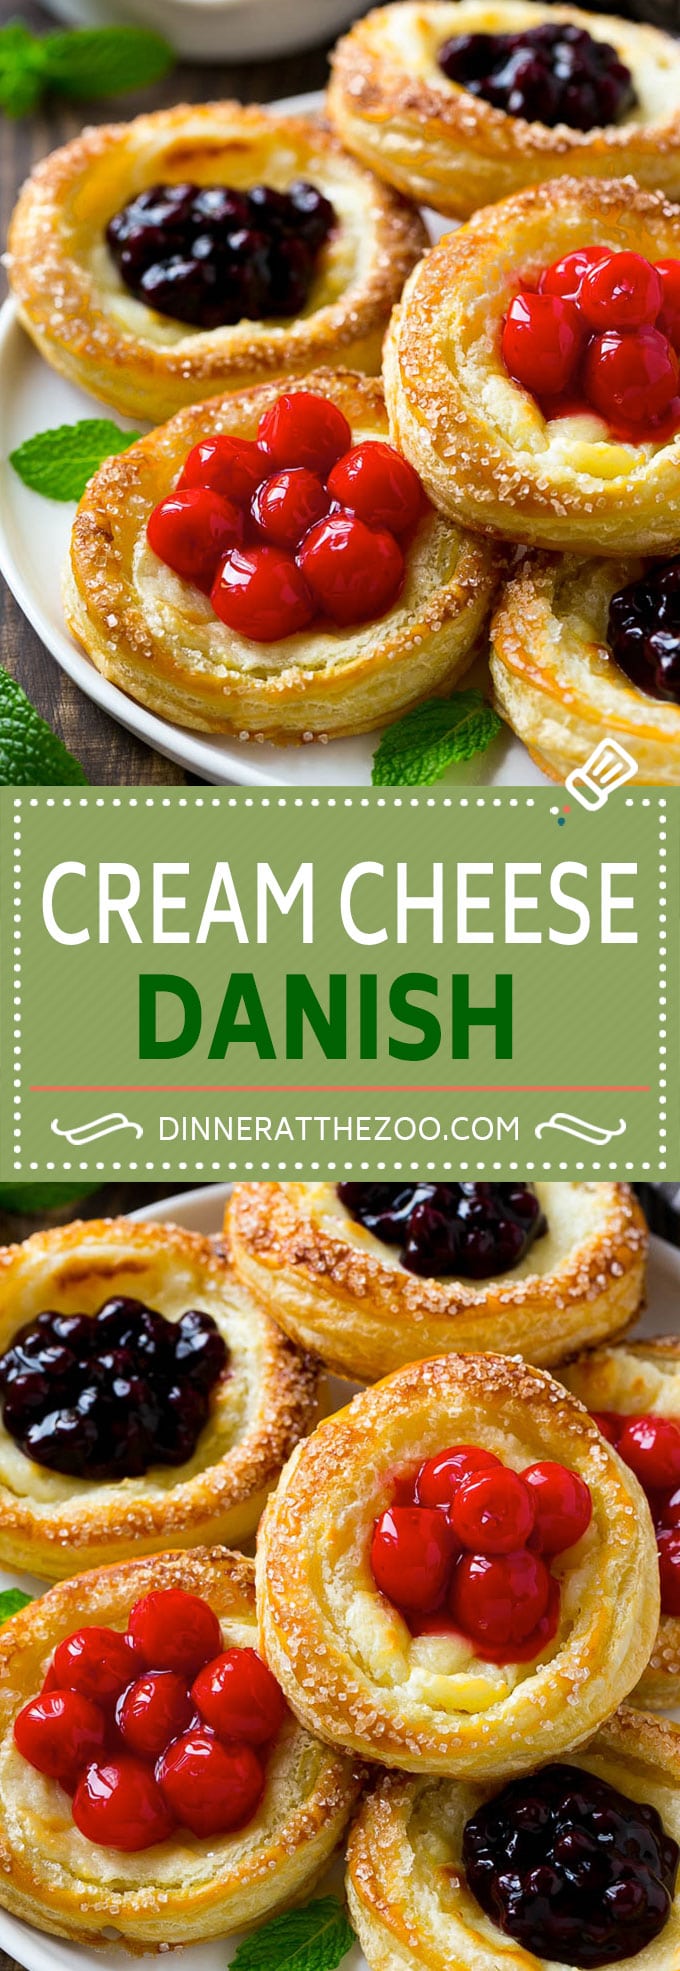
You can absolutely serve these danish as-is, but I love to put a spoonful of pie filling or fresh fruit in the center. Here I used both blueberry and cherry pie fillings, you could also use apple or strawberry, or add some fresh berries on top.
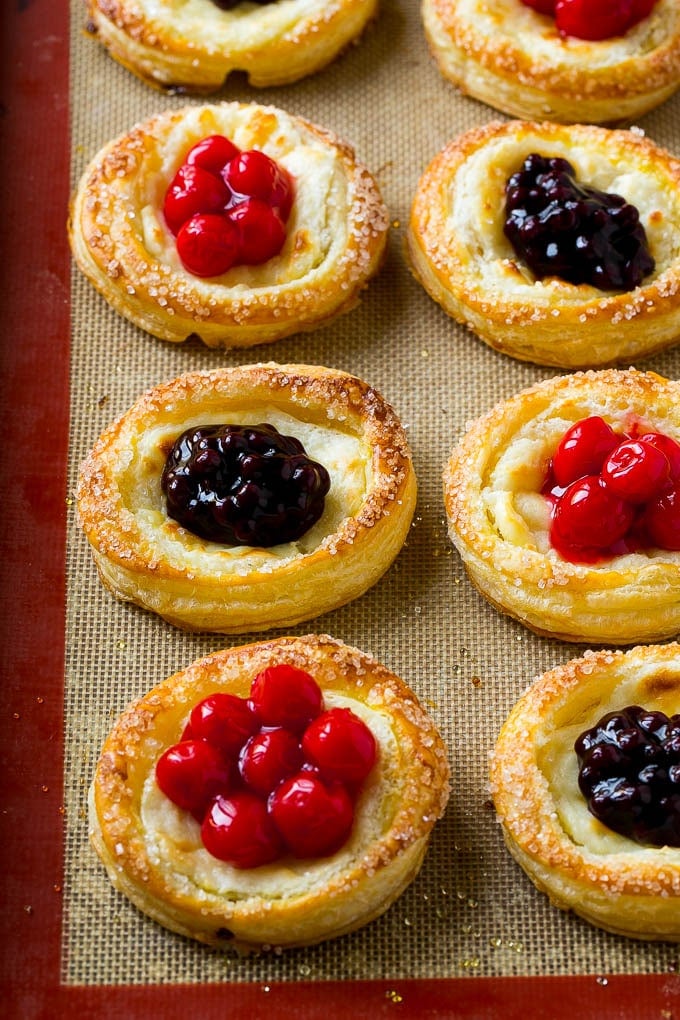
Everyone will think you bought these cream cheese danish at a fancy bakery! They taste WAY better than your typical supermarket danish, and I love how easy it is to customize your flavors.
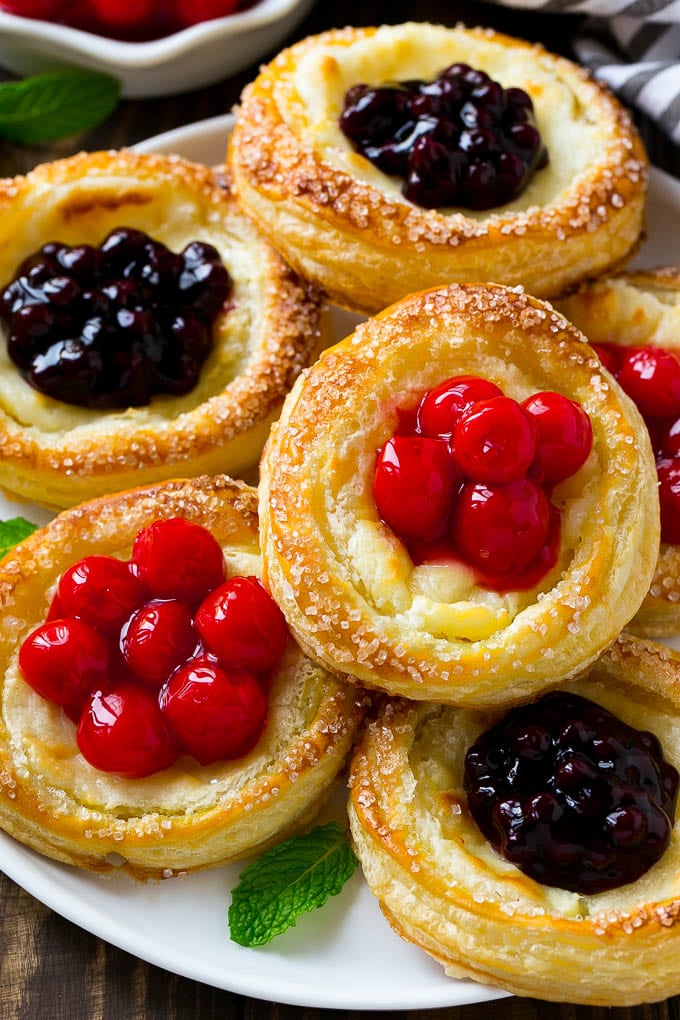
I love making these easy breakfast pastries to serve for the holidays too, they’re great on Christmas morning or for Easter brunch. I always keep a box of puff pastry in my freezer for when the mood strikes!
More breakfast recipes
- Breakfast Casserole with Bacon
- Cinnamon Roll French Toast Casserole
- Donut Bread Pudding
- Hash Brown Egg Casserole
- Breakfast Egg Muffins
Cream Cheese Danish with Fruit

Ingredients
- 2 sheets frozen puff pastry thawed
- 6 ounces cream cheese softened
- 3 tablespoons sugar
- 1 teaspoon vanilla extract
- 1 egg beaten
- 1/4 cup coarse sugar
- 1/2 cup pie filling of choice or diced fresh fruit
Instructions
- Preheat the oven to 400 degrees F.
- Place the puff pastry sheets on a non stick surface such as parchment paper or a baking mat.
- Use a 4 inch round cookie cutter or drinking glass rim to cut 4 circles out of each sheet of pastry. See recipe notes for ideas on what to do with leftover pastry scraps!
- Using a small knife or a smaller cookie cutter, score a circle about 1/2 inch in from the edges of the pastry rounds.
- Use a fork to prick all over inside the smaller circle.
- Place the cream cheese, sugar and vanilla extract in the bowl of a mixer. Beat until smooth and creamy.
- Gently spread the cream cheese filling inside the smaller circle of each pastry round.
- Brush the edges of the pastries with beaten egg and sprinkle with coarse sugar.
- Bake for 17-20 minutes or until edges are golden brown.
- Cool, then spoon 1 tablespoon of pie filling into the center of each pastry. Serve.
Notes
- Don't throw away your puff pastry scraps! Brush the scraps with a little melted butter, then sprinkle on the seasonings of your choice and a some finely grated cheese. Twist the pastry into breadsticks and bake at 400 degrees F for 8-10 minutes or until golden brown.
- Adapted from Just a Taste.



Can you use the preformed puff pastry shells? There are six to a box
That should be fine!
Can these be frozen?
I’d freeze them without the fruit topping, then add the fruit after it’s thawed.
Can you prepare the night before and bake the next day?
Yes that’s fine!
Can you use the ready made cheesecake in the tub from Philadelphia cream cheese with this recipe. I thoughtfully I saw a recipe for it on Pinterest but can’t find it.
Thanks
I think it could possibly work but I’ve never baked with this product before so I can’t say for sure!
Love baking & creative ideas for desserts
I am all about easy. I’m making these tomorrow and I am just going to roll the dough a bit, then simply cut squares, then follow the rest of the steps accordingly. For the folks feeling intimidated try to get circle, this could be an easy fix. The recipe looks great, and I have cherry pie filling! Thanks.
How many does this recipe serve? Apologies if I missed it. Thanks!
It serves 8!
Hi,
Can I add the fruit filling before baking?
I’ve never tried it before but I think it could work, it may run as it melts so I’d use less if you’re going to do it that way.
These look so pretty!
I’ve made these twice now. They are good.
Do they need to be refrigerated? I Don’t think I refrigerated the last batch, don’t think we ate them either, it’s been awhile and I don’t remember
I don’t want these to go to waste
I do typically refrigerate them within 6 hours of being made!
Hi Sara, I was wondering what I could use instead of egg, as my family and I are vegetarian. Any ways, the recipe looks delicious .😋
You can omit the egg!
You could probably also use a corn starch slurry for the shine.
Loveee these! Easy and delicious. They were such a big hit and just look so cute!
Is it possible to make these the night before and them still taste good the next morning? Just trying to eliminate unneeded morning stress of hoping I get done in time
You can do that, I’d recommend adding the fruit topping just before serving!
I’ve made these now a few times changing up the fruit I use each time. Easy and always comes out perfect!
I was wanting to make the dough on Christmas Eve, Would it be possible to refrigerate the dough overnight and bake it in the morning on Christmas?
Yes that should be fine!
Have made these twice now and I’m amazed at how easy these are to make. They are definitely better than store bought danish. My grandkids love them. Thanks so much for sharing this recipe.
So glad to hear you enjoyed them, thanks for reporting back!