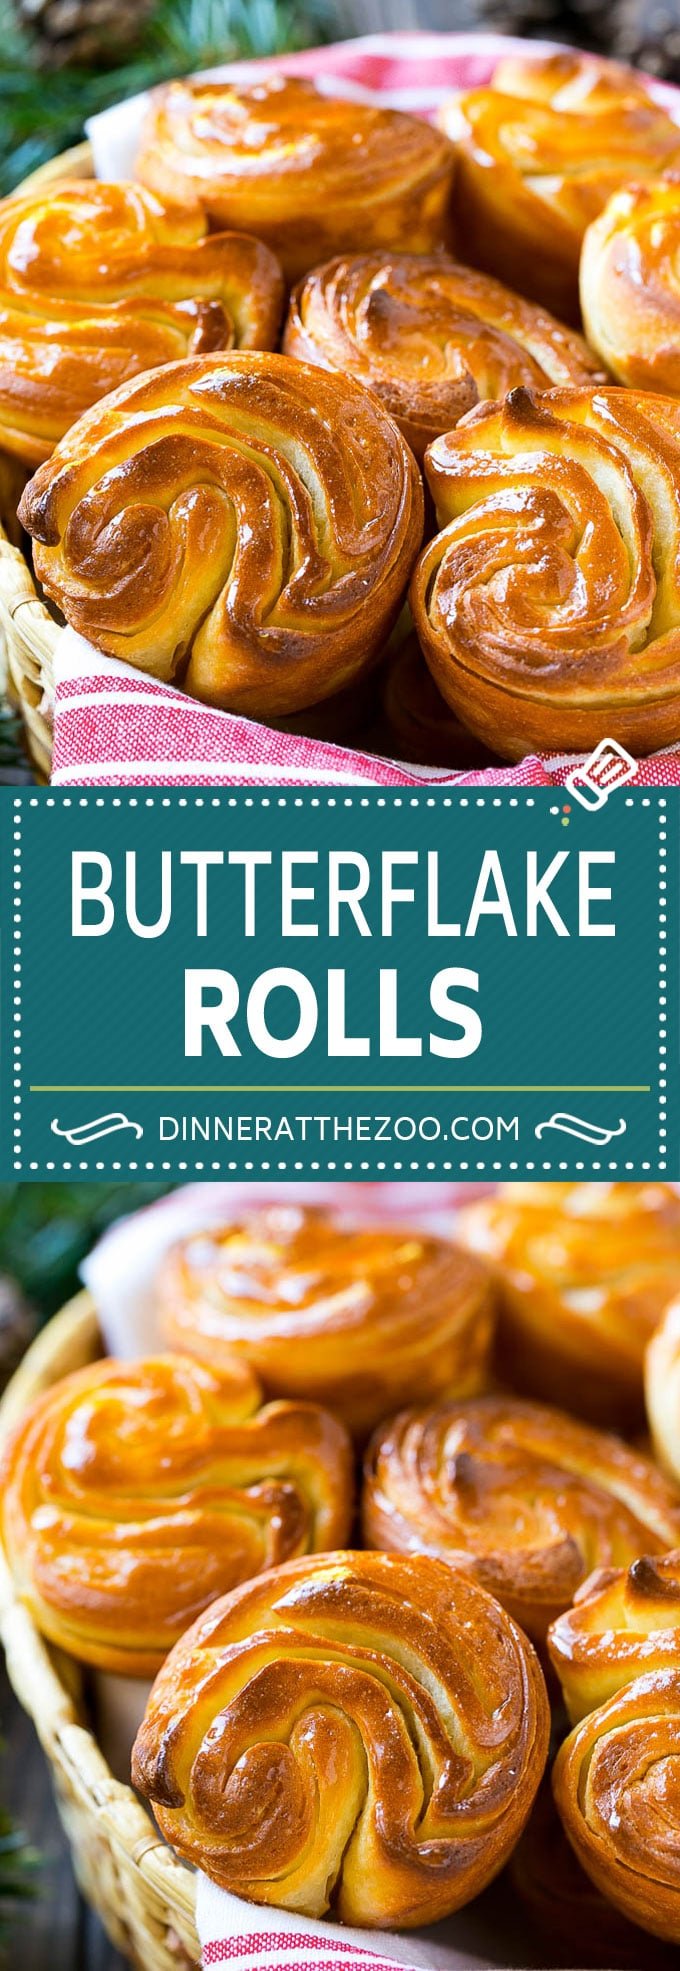
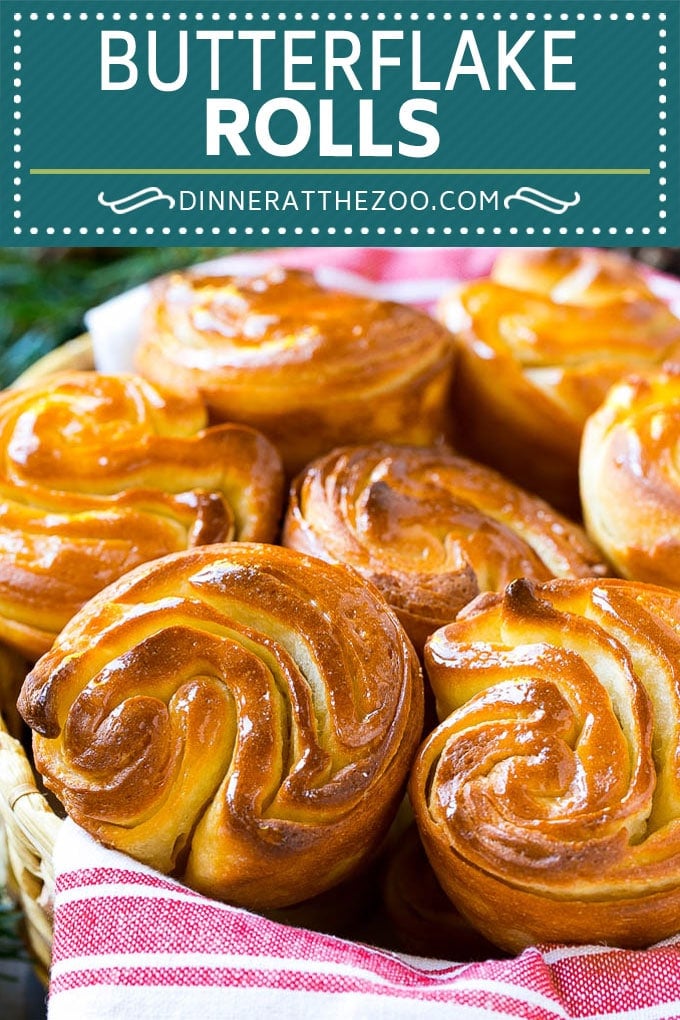
These butterflake rolls are the lightest, flakiest and fluffiest rolls you’ll ever eat! These easy dinner rolls have become a family tradition, they’re on our holiday table every year.
You’d think the star of Thanksgiving dinner would always be the turkey – not in my house, it’s all about these amazing butterflake rolls! My family looks forward to these rolls every year, and there are never any leftovers.
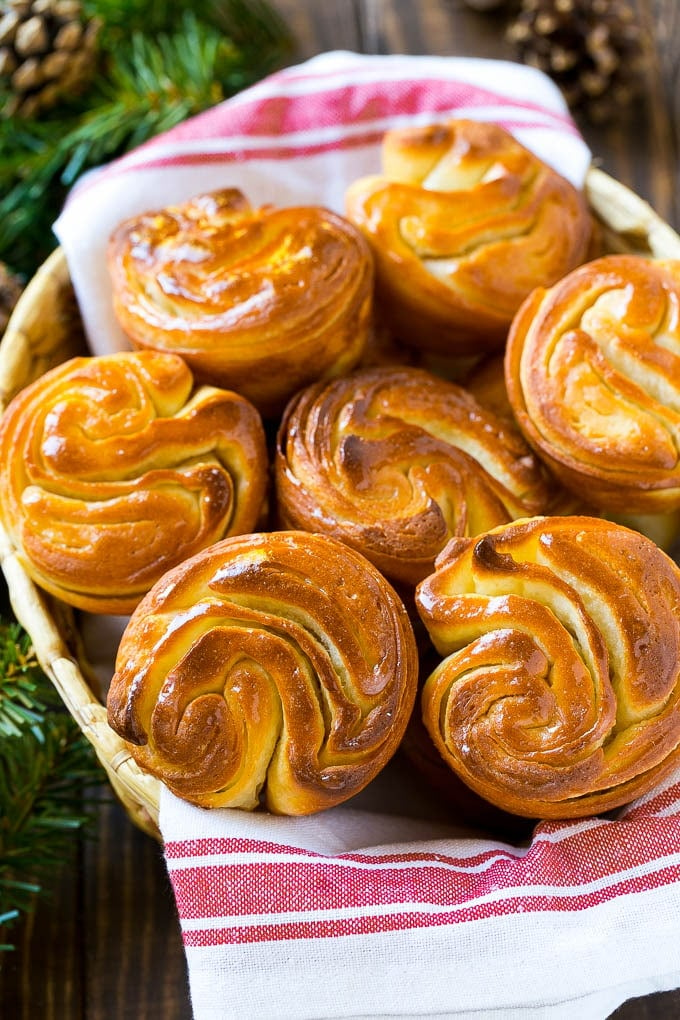
Every year for Thanksgiving I make these butterflake rolls. I always have to make multiple batches because my brother will eat a half dozen rolls by himself – I’m not even exaggerating! They really are the very best rolls – not only are they beautiful but they taste delicious, in fact, you definitely don’t need to wait for a holiday occasion to whip up a batch.
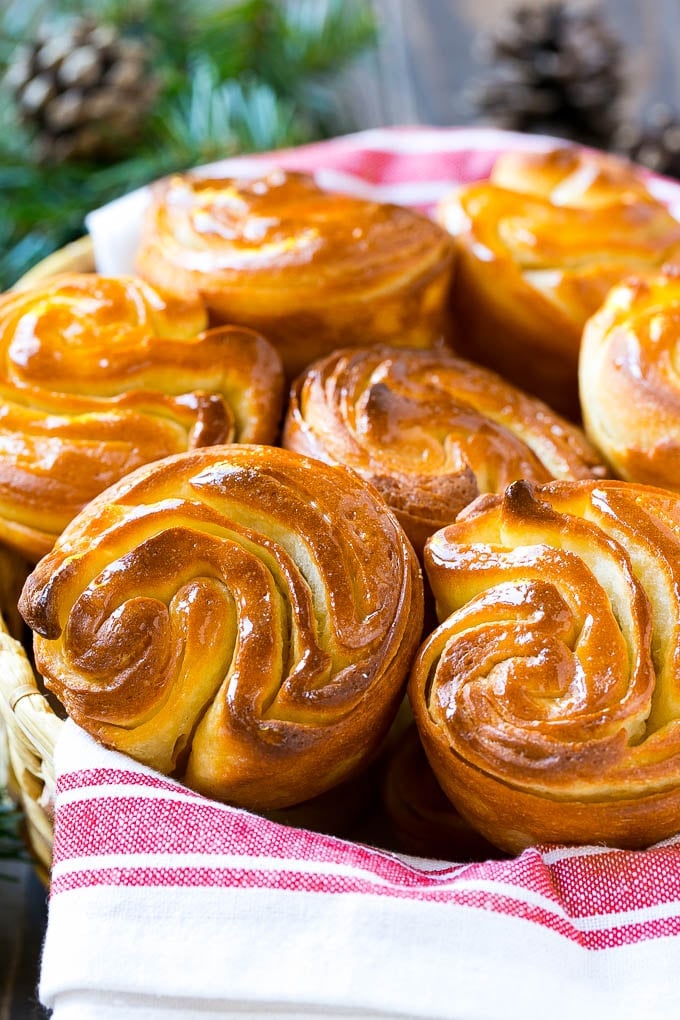
How to make butterflake rolls
The dough starts off like any other dough with flour, yeast salt and milk. The magic is all in the folding process. The dough gets rolled out, covered in butter, folded, then the process is repeated twice more to get this pretty design and all of those flaky layers of delectable bread. It’s really not difficult to do, I promise. Baking is an exact science in so many ways – when it comes to this recipe, you definitely want to measure all the ingredients and make the dough as instructed, but for the rolling and folding process, you don’t have to be quite as precise. If your dough isn’t exactly the right sized rectangle it’s no big deal, they’ll still look beautiful and taste delicious.
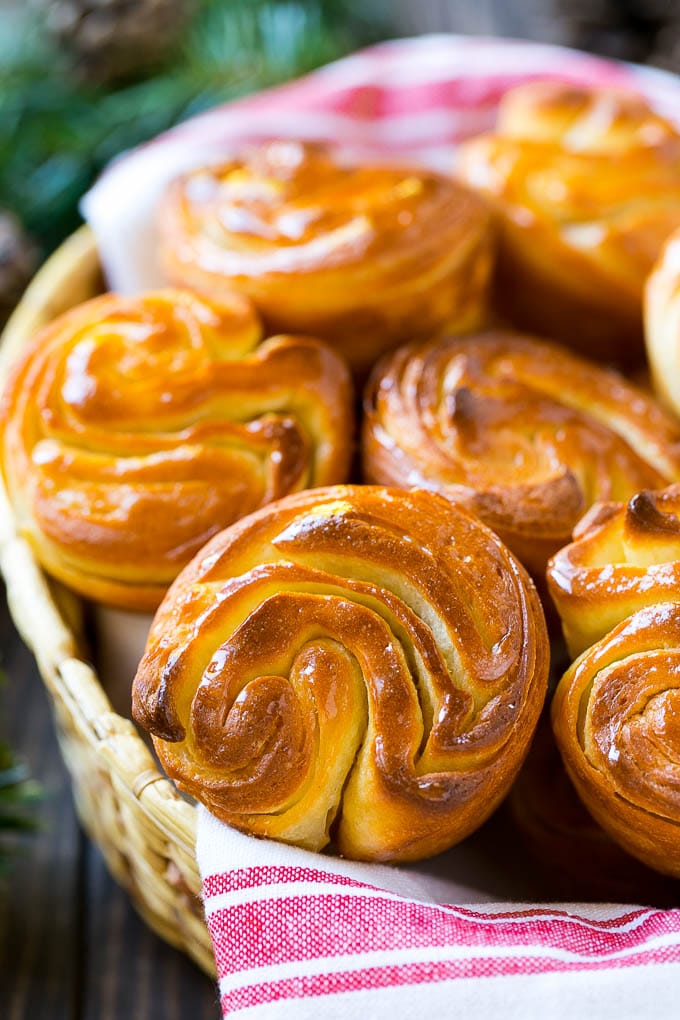
You can certainly serve these butterflake rolls plain, or dress them up a bit with some butter and jam. Either way they’re the ultimate dinner roll for your holiday celebration. I always make these butterflake rolls early in the day, and instead of doing the final rise at room temperature I let them sit in the fridge. An hour before dinner I take them out of the fridge to let them finish rising and then pop them in the oven right before we’re ready to eat.
My four year old calls these “bread cupcakes” and that’s really actually a great name for them! It would not be Thanksgiving at my house without these rolls and I hope you’ll give them a try this year too.
More Thanksgiving recipes
- Green Bean Bundles
- Sweet Potato Casserole
- Loaded Mashed Potato Casserole
- Slow Cooker Glazed Carrots
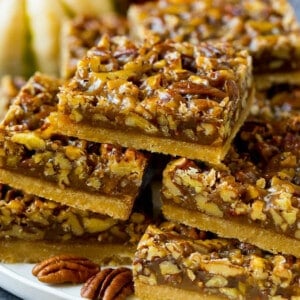
- Pecan Pie Bars
Butterflake Rolls
Ingredients
- 3 tablespoons sugar
- 1 packet of active dry yeast equivalent to 2 and 1/4 teaspoons
- 1 cup warm milk should be no warmer than 110 degrees
- 3 cups all-purpose flour + additional for dusting work surface
- 1 1/4 teaspoons kosher salt
- 4 tablespoons butter softened
- Cooking spray
- butter and jam for serving
Instructions
- Dissolve the sugar and yeast in the warm milk in a large bowl; let stand 3 minutes.
- Lightly spoon the flour into the measuring cups and add the flour and salt to the bowl. Stir until a dough forms.
- You can use a stand mixture fitted with a dough hook or your hands to knead for 5 minutes or until the dough is smooth. Cover dough with plastic wrap, and let rest for 10 minutes.
- Roll the dough on a lightly floured surface into a 11 x 9 inch rectangle. Gently spread butter over dough. Working with a long side, fold up bottom third of dough. Fold top third of dough over the first fold to form a 11 x 3-inch rectangle. Place on a baking sheet lined with parchment or a silpat and cover with plastic wrap; place in freezer for 10 minutes.
- Remove dough from freezer and uncover.
- Roll dough, still on baking sheet (sprinkle on a little more flour, if needed), into a 11 x 9 inch rectangle. Working with a long side, fold up bottom third of dough. Fold top third of dough over the first fold to form a 11 x 3-inch rectangle. Cover with plastic wrap; place in freezer for an additional 10 minutes.
- Remove dough from freezer; remove plastic wrap. Roll dough, still on baking sheet, into a 11 x 8-inch rectangle.
- Beginning with a long side, roll up dough jelly-roll style; pinch bottom seam to seal. Cut roll into 12 equal slices. Place slices, cut sides up, in muffin cups coated with cooking spray. Lightly coat tops of dough with cooking spray. Cover and let rise in a warm place for an hour or until doubled in size. Alternatively at this stage, you can put the dough in the fridge for up to 4 hours. Take the dough out of the fridge to rise on the counter at least one hour before you plan to bake it - after the dough has doubled in size proceed to baking directions.
- Preheat oven to 375°.
- Bake dough at 375° for 20 minutes or until golden brown. Remove from pan, and cool for 5 minutes on a wire rack. Serve rolls warm with butter and jam if desired.
Notes
Nutrition
This recipe was originally published on November 8, 2015 and was updated on November 13, 2017 with new photos.


Do you bake these in a muffin tin or disposable muffin cups?
I use a greased muffin tin!
Delicious. Made them per recipe, but ill admit, I added another layer of butter in 2nd fold … they d are so good, best rolls I’ve ever made.
these rolls taste just like the ones my Nana used to make when I was a kid…except hers didn’t have the flaky layers. Easy to make( just got done make 2 dozen for Thanksgiving). these are definitely going to be my go to roll from now on. Hopefully next time mine will come out looking as cool as the pictures( still look pretty, just more of a raised spiral shape).
Better than bakery rolls! My family fights over them so I hide one aside for me!
I made these for the first time today and they are delicious.
With practise, hopefully they will all come out a little closer in size.
Are they supposed to be crispy on the outside?
They are not hard, just crispy/crackly.
Thank you for the lovely recipe.
Christine
Yes they are supposed to be crispy on the outside, glad you enjoyed them!
Have you ever taken a video of you making these? I’m such a visual learner and I’ve always failed at making bread. I’m hosting my large family for the first time this year on Christmas and found your site looking for turkey recipes, only to find I want to make everything you posted. I don’t even like maraschino cherries and I’m still making the pineapple cherry ham because all of your recipes and ingredients look so lovely and your wrote them in a way that I could easily understand!
However, the rolls are still worrisome for me. I really want to try them but I’m afraid. If you have any video of your process, I would love to see it! ♥️
I don’t currently have a video for this one, but I will try to locate the original cookbook I adapted it from because I think there may have been step by step photos in there! If I can find it I’ll take a pic and email it to you.
Thank you so much!
I would love to have these pics aswell, thanks so much!
I will work on that!
Could these be made with bread flour?
I will be making them regardless.
Thank you
Yes you can use bread flour, hope you enjoy!
Once baked, do these rolls freeze well? Or are they good reheated the next day? They look so beautiful and I want to make them for Thanksgiving at my in-laws but I will be traveling with no way to make them the day of Thanksgiving.
You can freeze or reheat the next day. I’d warm them in a low temperature oven for a few minutes and you should be all set!
Each time before folding – I should spread butter on the dough?
These look fabulous – got to try them. Just wanted to make sure it tells me to the first fold but not after that.
You spread all the butter on at the beginning, then after that you just keep on folding to get those layers, no extra butter needed!
First pan just came out of the oven and they look Divine! I turned them into Thanksgiving rolls, each one has a slip of paper in it wrapped in foil with a conversation starter. For example, “Tell us your favorite Thanksgiving memory” or “What is your favorite holiday tradition?” Etc. Should be fun since no one knows that’s I did that!
I love the idea of adding the papers, I’m doing this on Thanksgiving!
These rolls are beautiful, Sara. I love the method you use for making them. I’d love to serve these at our Thanksgiving table this year.
They look stunningly delicious. I think I can have them on its own or with a spread of a jam.
These look ridiculously yummy. Fresh baked bread/rolls are my weakness (more than cakes!), I could totally devour all of these.
Wow! These looks so delicious and beautiful! Perfect for a holiday dinner!
It’s like croissants and dinner rolls had a baby! These look seriously yummy!
These are so beautiful that I thought it was store bought dough. Please take that as a compliment because it was meant to be. they are beautiful! I want to give these a try for Thanksgiving!
Stunning! Sort of a modified croissant process? Can’t wait to try these for the big meal this year.
Hi Sara – Just had to leave a note to tell you these rolls are so beautiful! I hope I get the chance to try these this holiday season. They would surely impress!
So comforting and easy to make. Great side dish…